IMG_0390.jpeg

Astigmatism is very common yet, for something that a LOT of people have, it’s very misunderstood. And it gets blamed for just about any deficiency people perceive in their quality of vision (and sometimes they’re right).

Perhaps this is because it’s a little tricky to conceptualize, or maybe it’s because the word itself sounds like it could be a horrible disease. If I didn’t know better, I certainly wouldn’t want to be told that I’ve caught a case of “astigmatism”.

When we try to explain astigmatism, we often do it by describing the shape of the front surface of the eye. “An eye without astigmatism is spherical, like a basketball. An eye with astigmatism has two curvatures, a steeper one and a flatter one. Kind of like a football.”

I think most people comprehend this analogy when they hear it but, like a lot of information, the passage of time eventually erodes this understanding and, years later, they only recall that there is something football-like about their eyes.

When I look at Edvard Munch’s The Scream, I like to think about what would make the subject of the painting scream. What could be causing the horrified expression on his face? What could be altering his perception of the world and transmogrifying it into a swirly, melty nightmare?

I can only think of one thing: Astigmatism.

Yes, the dreaded football-eye.


Posted
AuthorTodd Zarwell

Why did I draw a picture of a Terminator refracting a Terminator?

I’ve been working on a tutorial to teach optometry students to refract a virtual patient, where my program would make the patient respond to questions and lens changes. At one point I started making a feature where, if the student got stuck or confused, they could turn on a “tutorial mode”. This was essentially another program that would try to think like the doctor to help walk the student through the refraction.

It suddenly struck me that I was pretty much trying to create a virtual doctor that would be refracting a virtual patient.

I’m pretty sure this is how Skynet got started.

To make a long story short, in the interest of saving humanity, I scrapped this plan (I certainly did not give up because it was proving to be too hard).

A Terminator using a phoropter to refract another Terminator.

A Terminator using a phoropter to refract another Terminator.

Posted
AuthorTodd Zarwell

My mom has been going through some boxes in her basement and came across some of my old school things.

She found a comic that I wrote sometime in grade school (I don’t know when, but it must be some time in the early 80’s given the boom box and the clothing styles depicted on page 5).

I'm thinking it is from around 1985 because I reference Neo-Maxi Zoomdweebie from The Breakfast Club. Even though I'm pretty sure I hadn't seen this movie at that time I remember people using that phrase and thinking it sounded pretty funny.

It’s weird that I only have a vague recollection of doing this, but it gave me a laugh and I thought I’d share it here.

Oh, and it must have been for school project because there’s an “A-” on the back: I was dinged for starting a sentence with a number on the last page. The teacher didn't catch my using the wrong “to” on the second page though!


Posted
AuthorTodd Zarwell

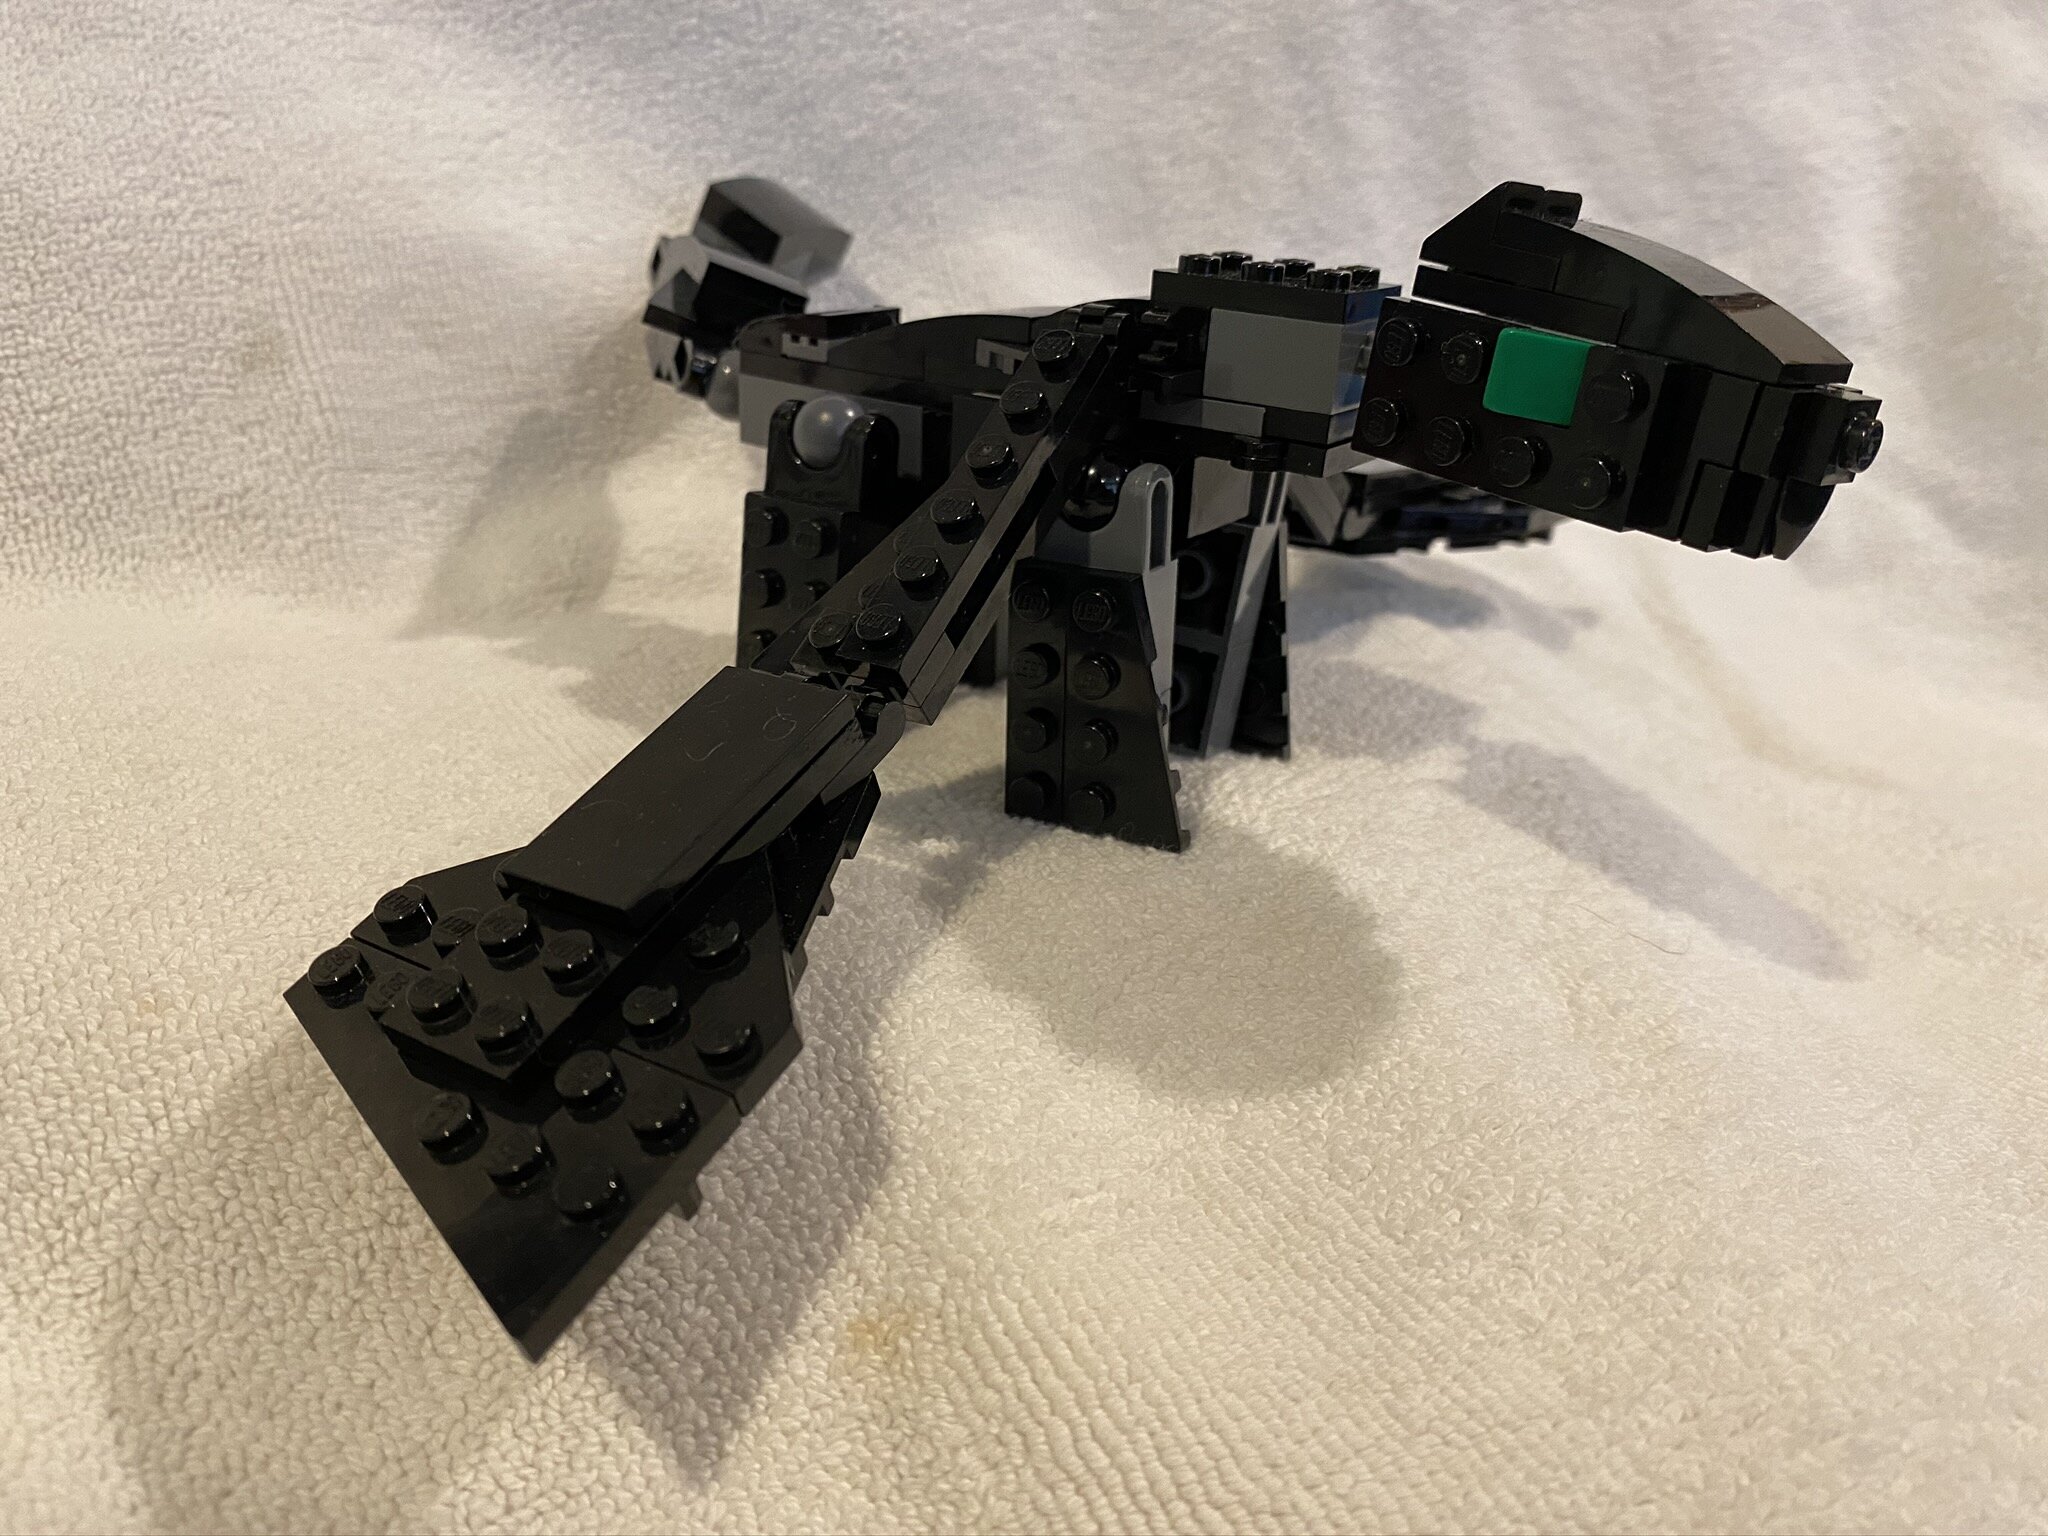
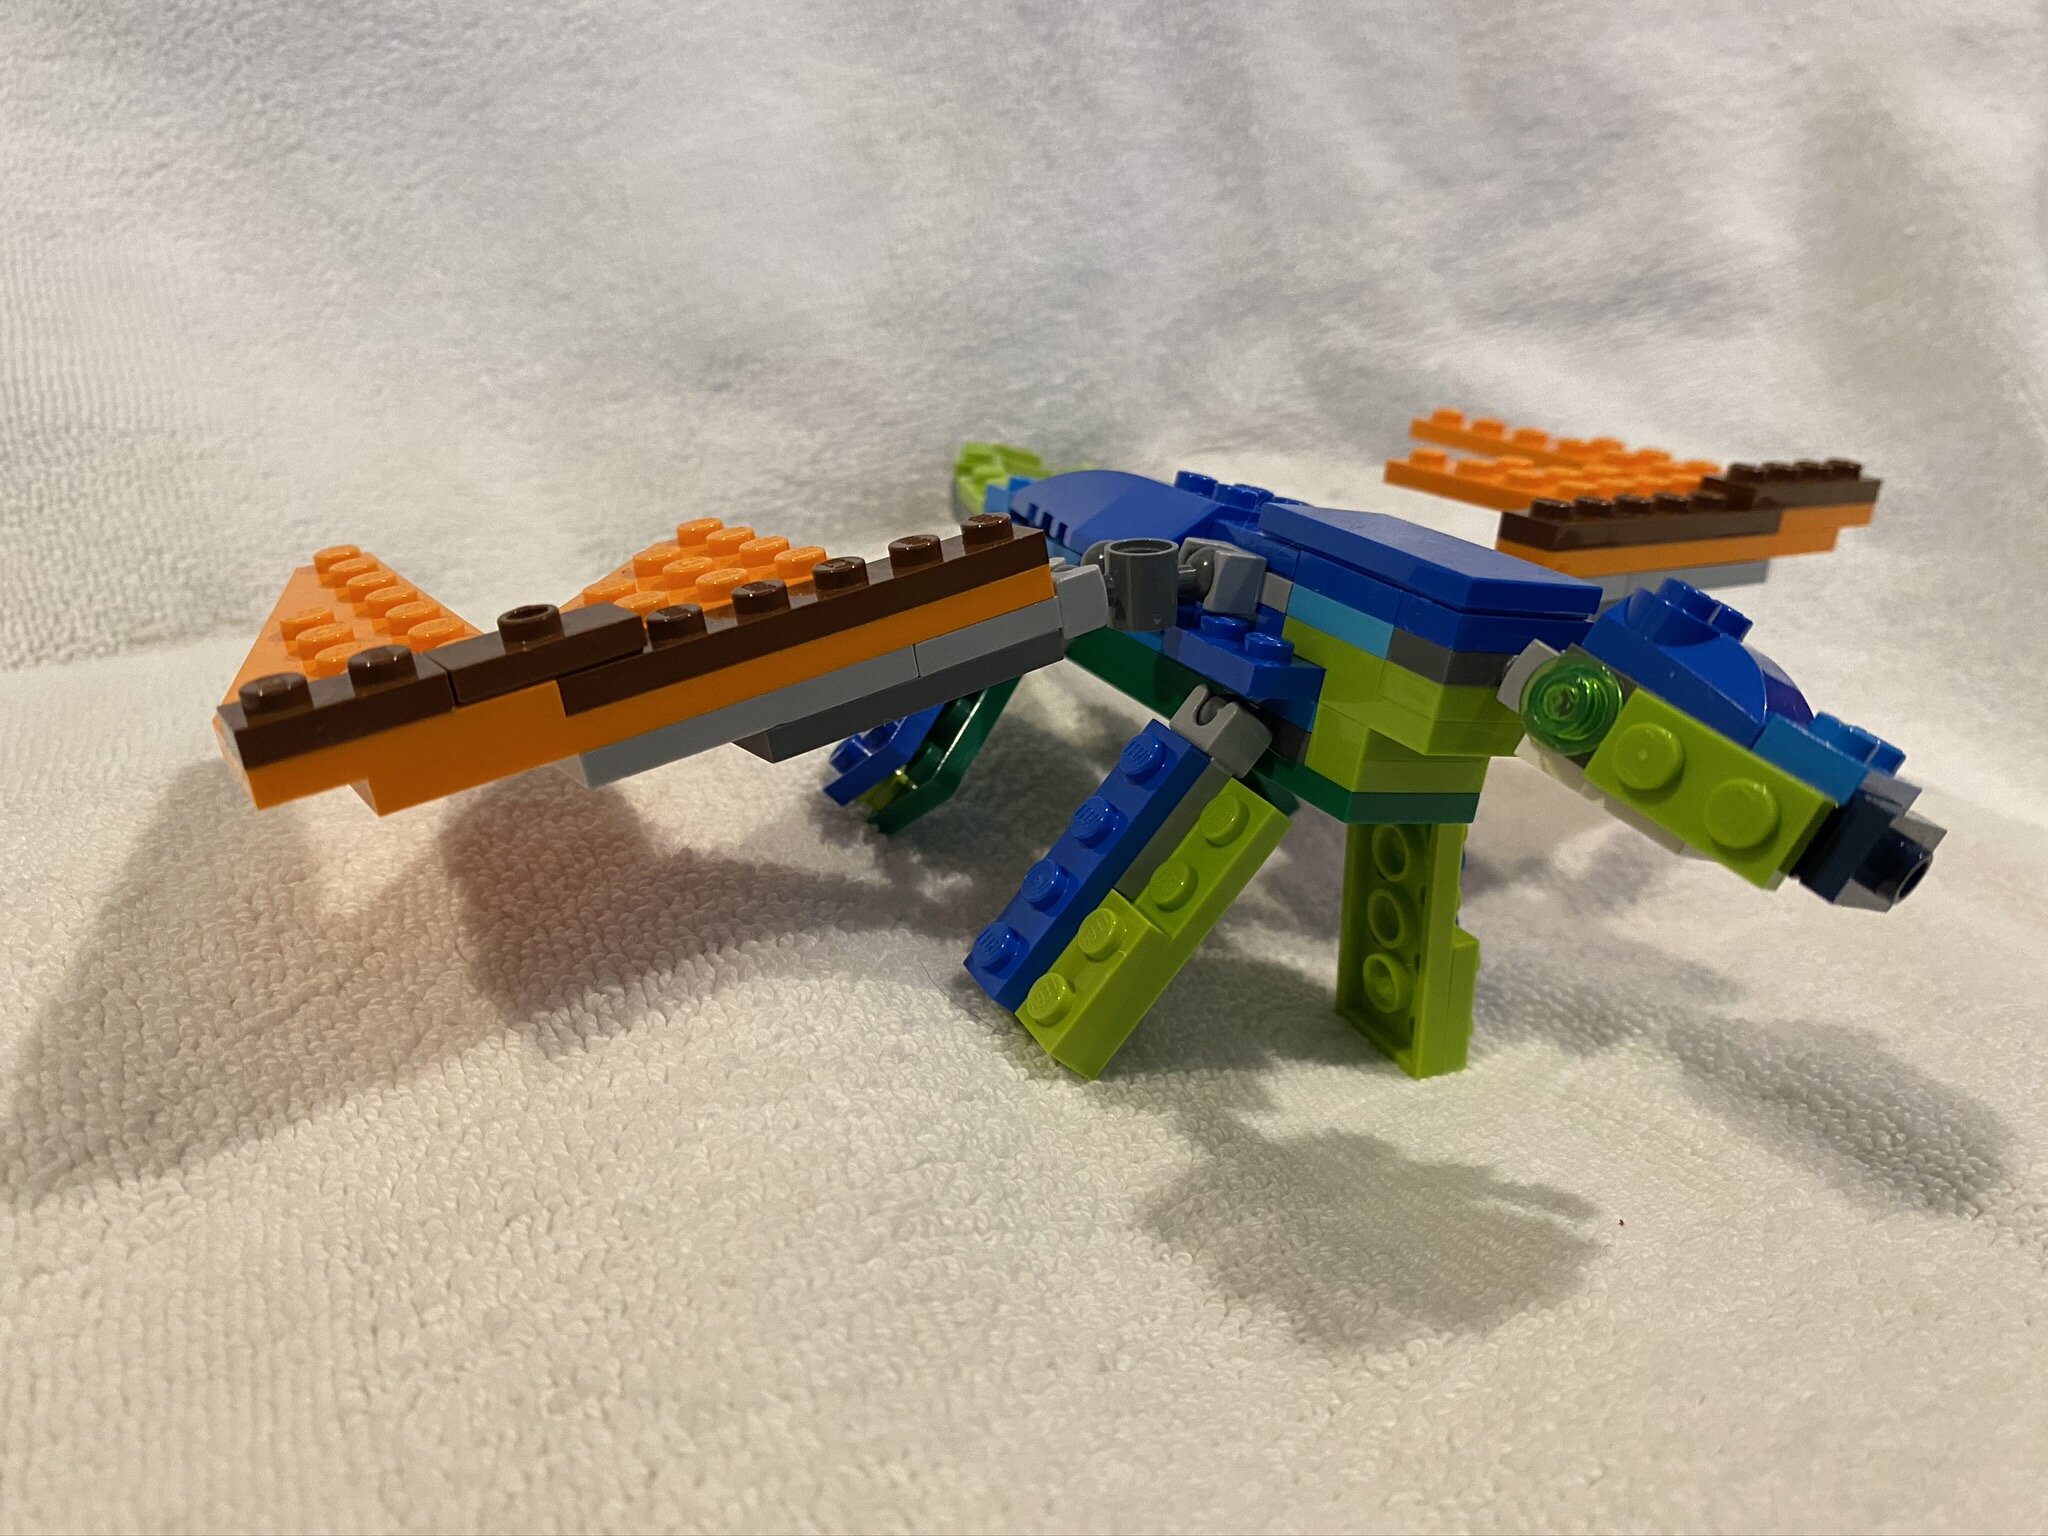
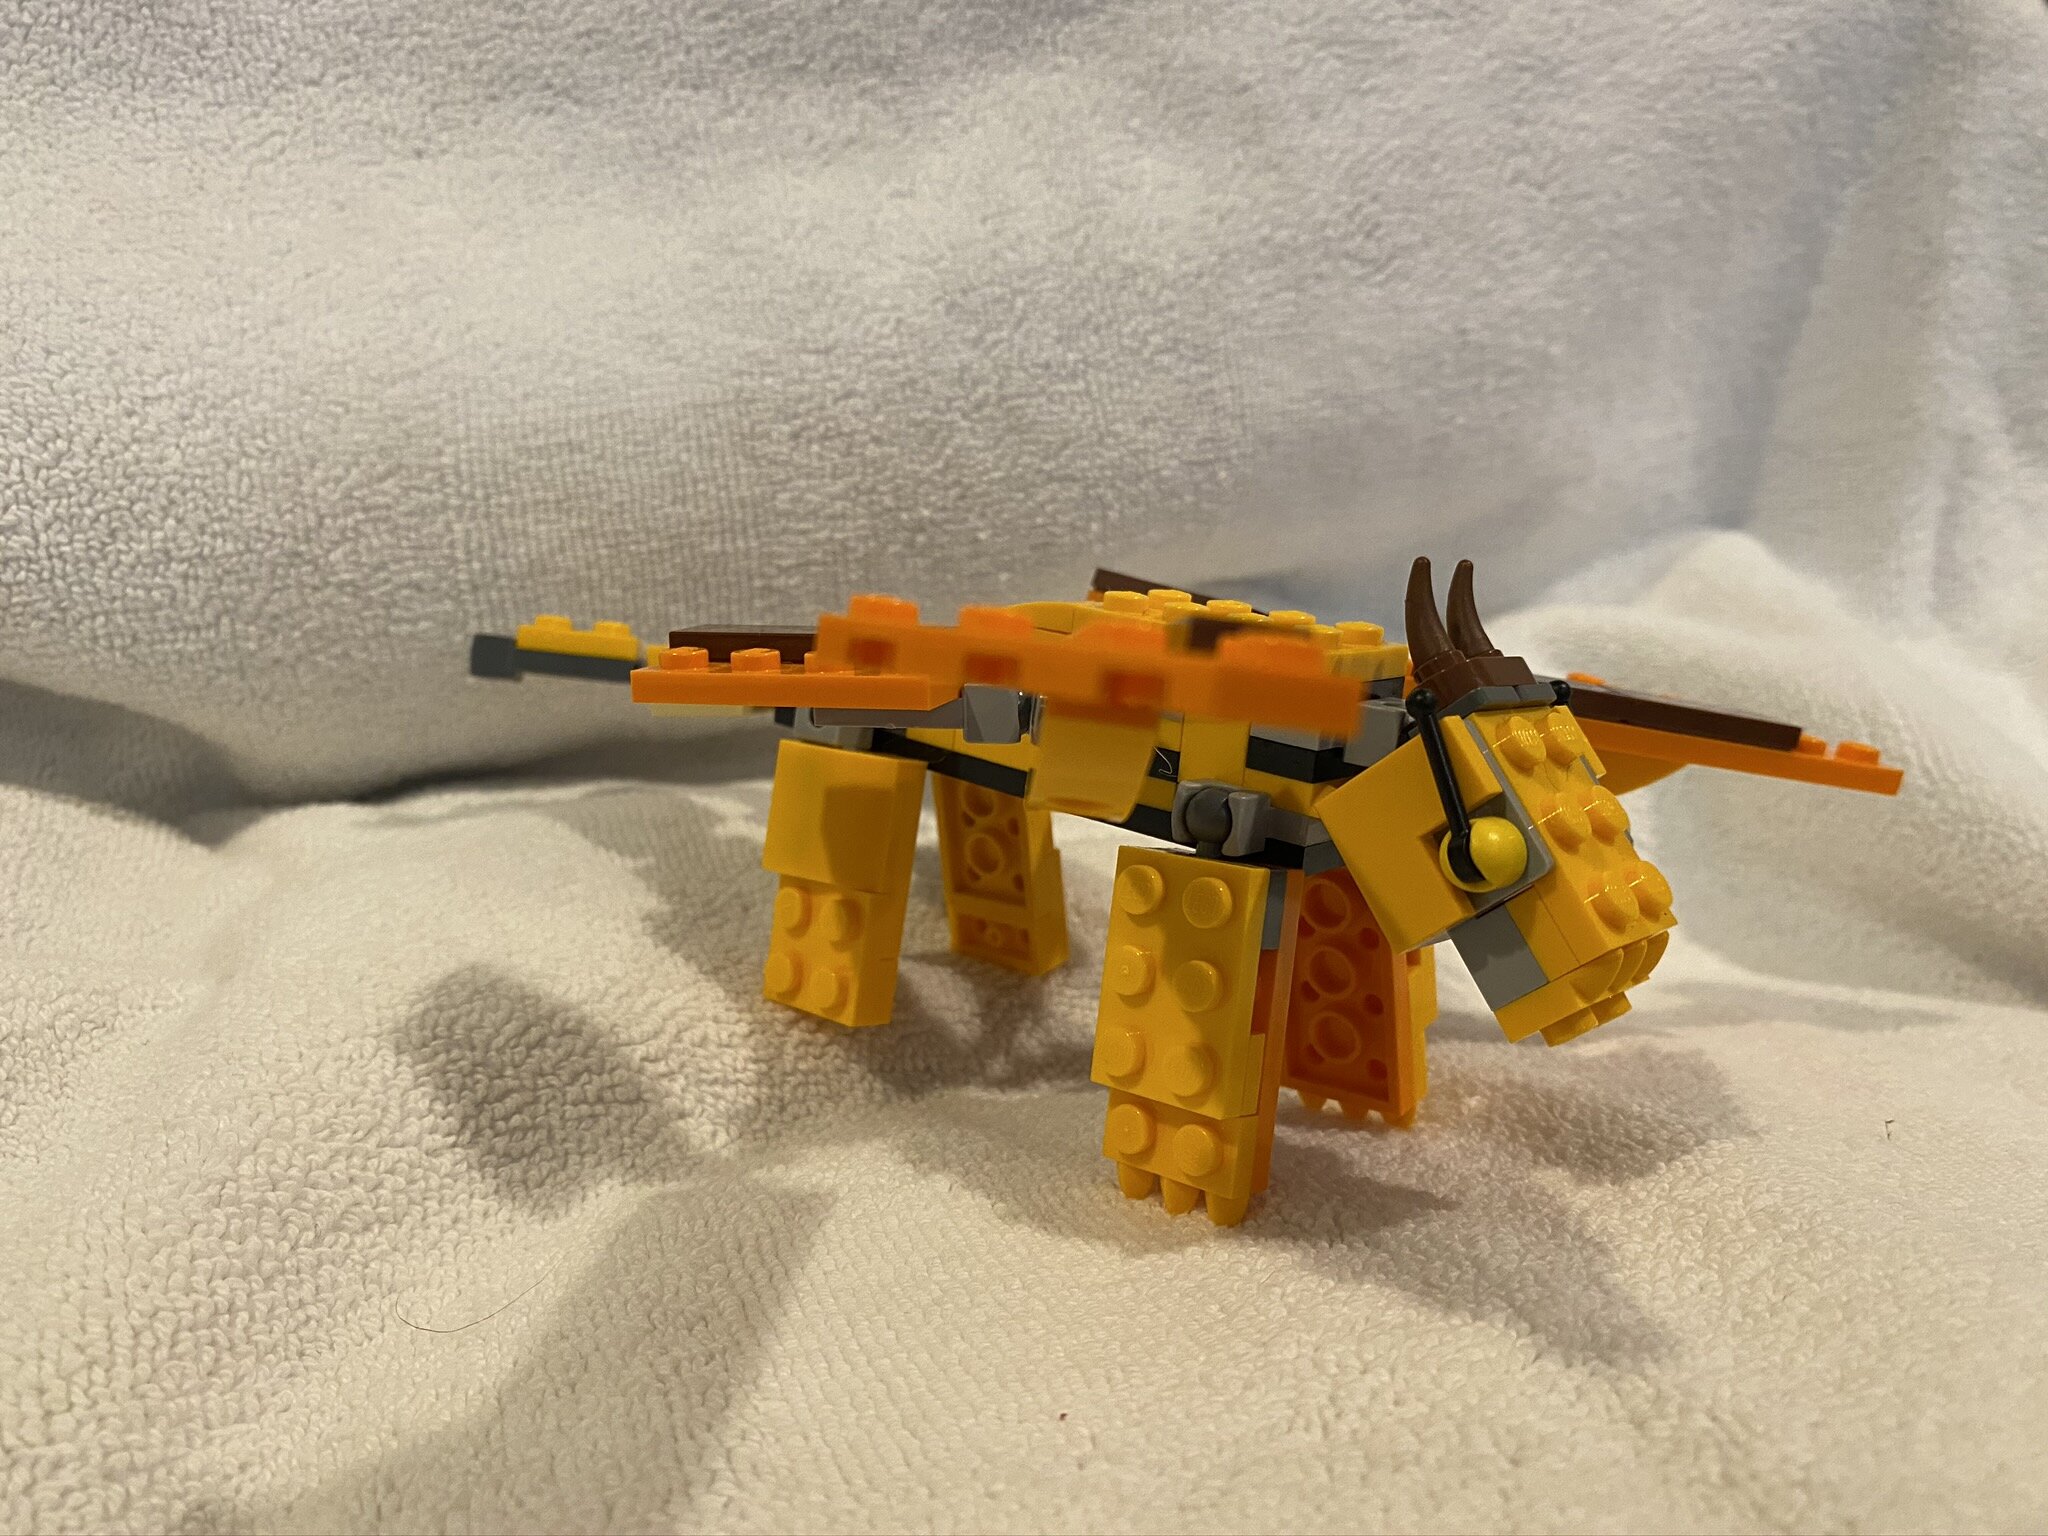
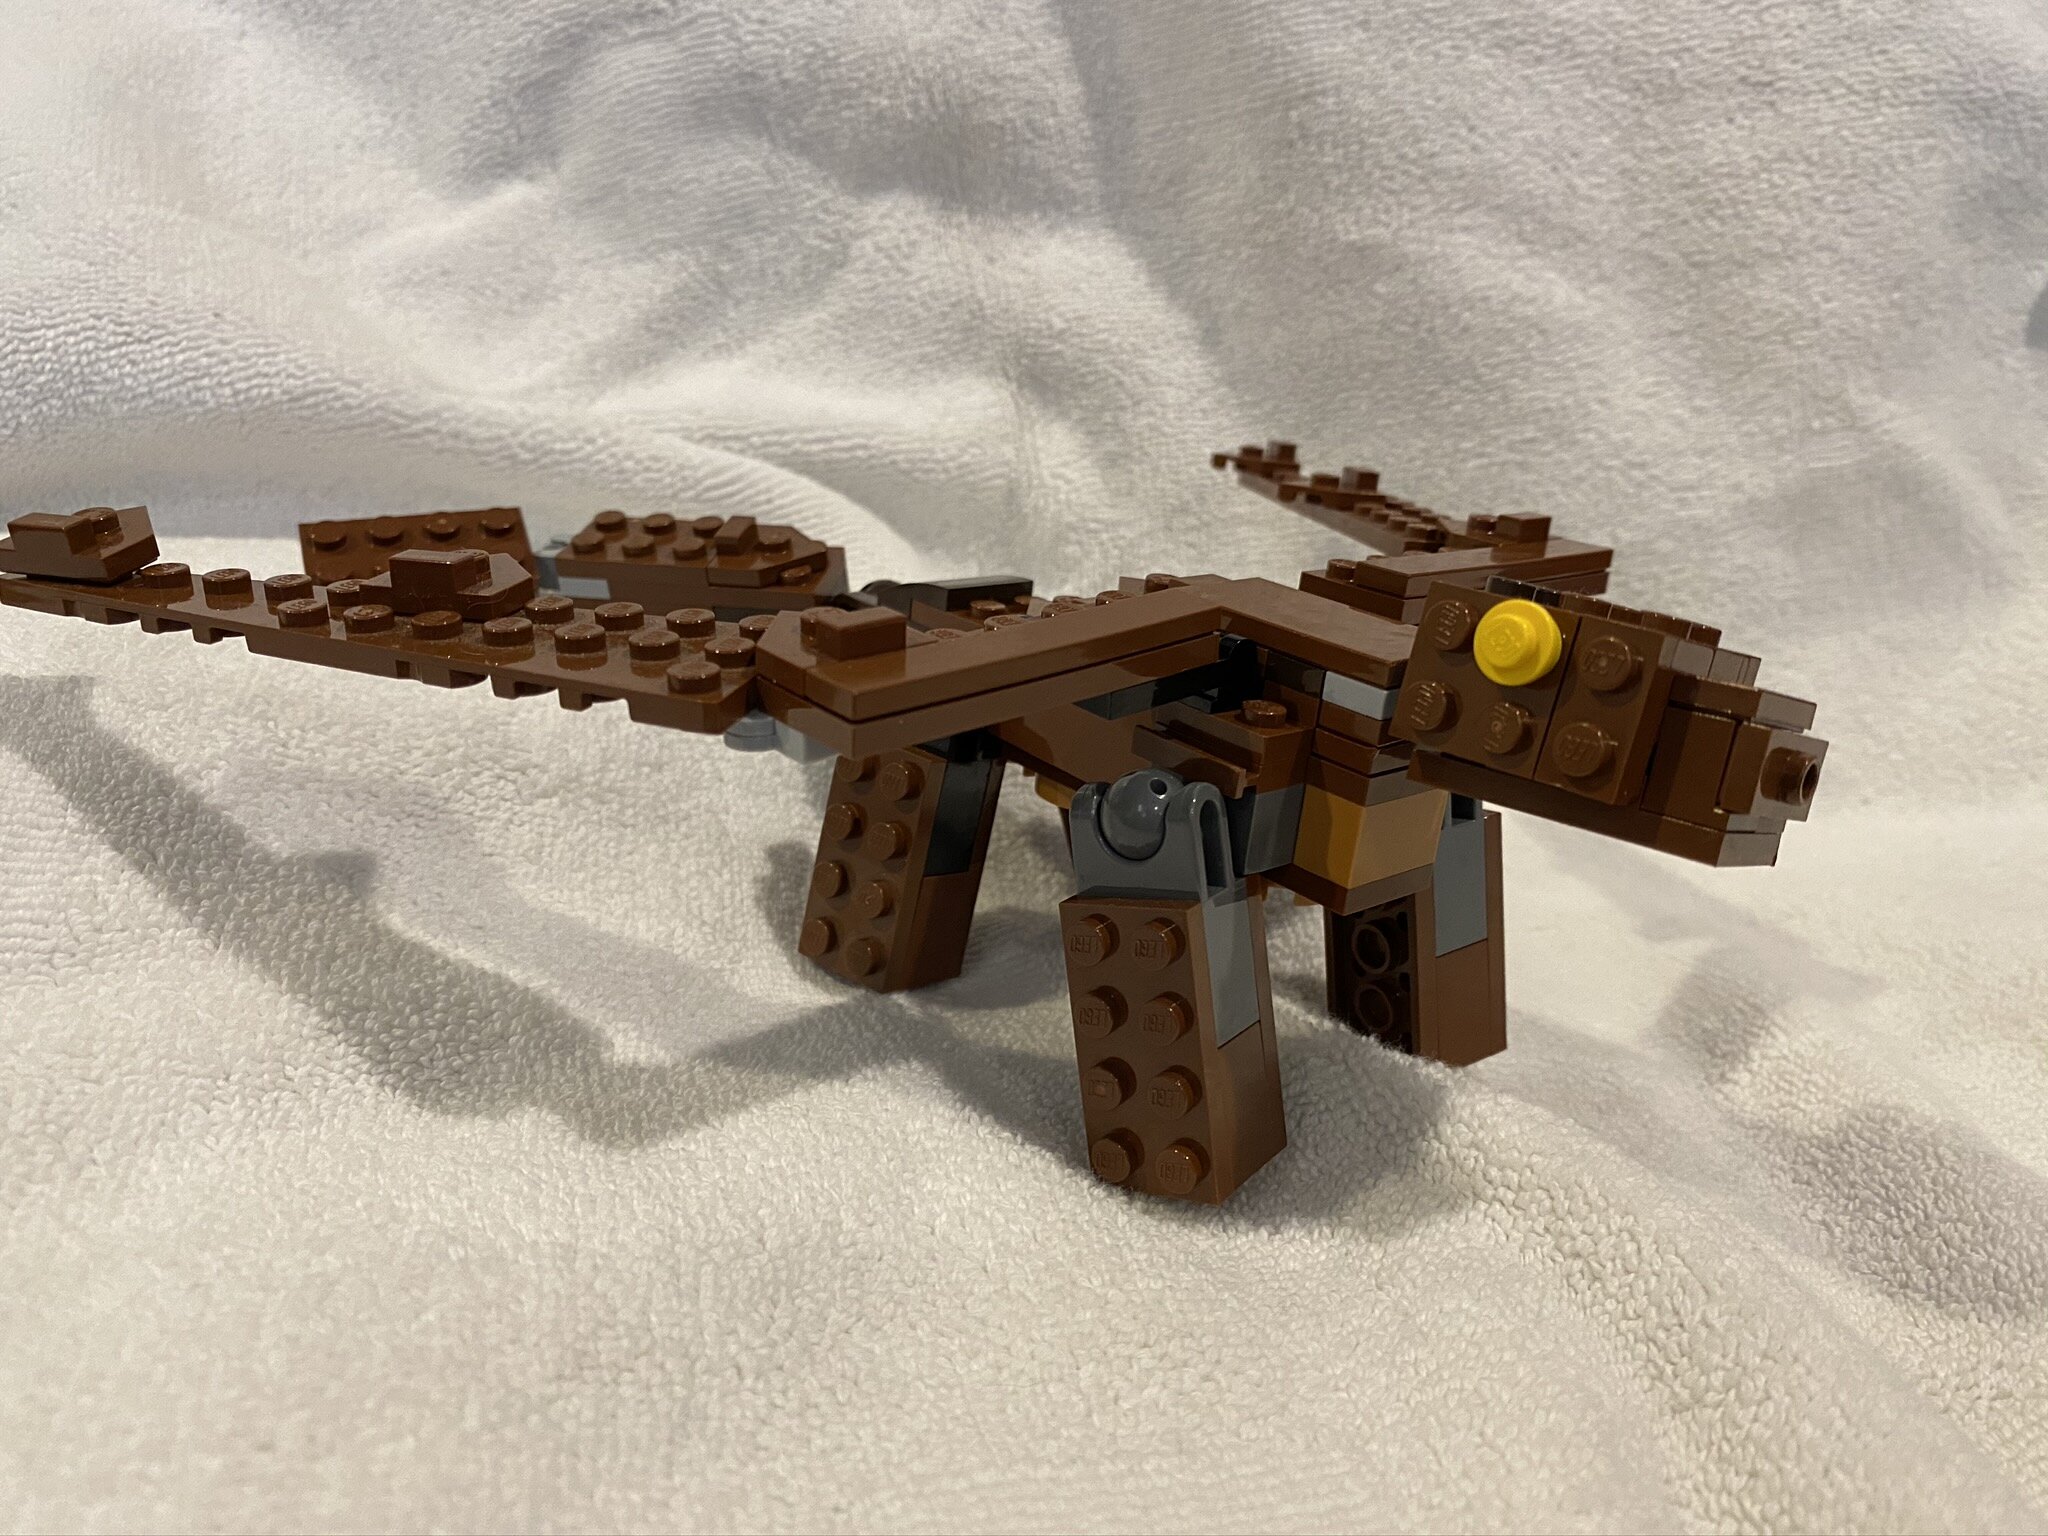
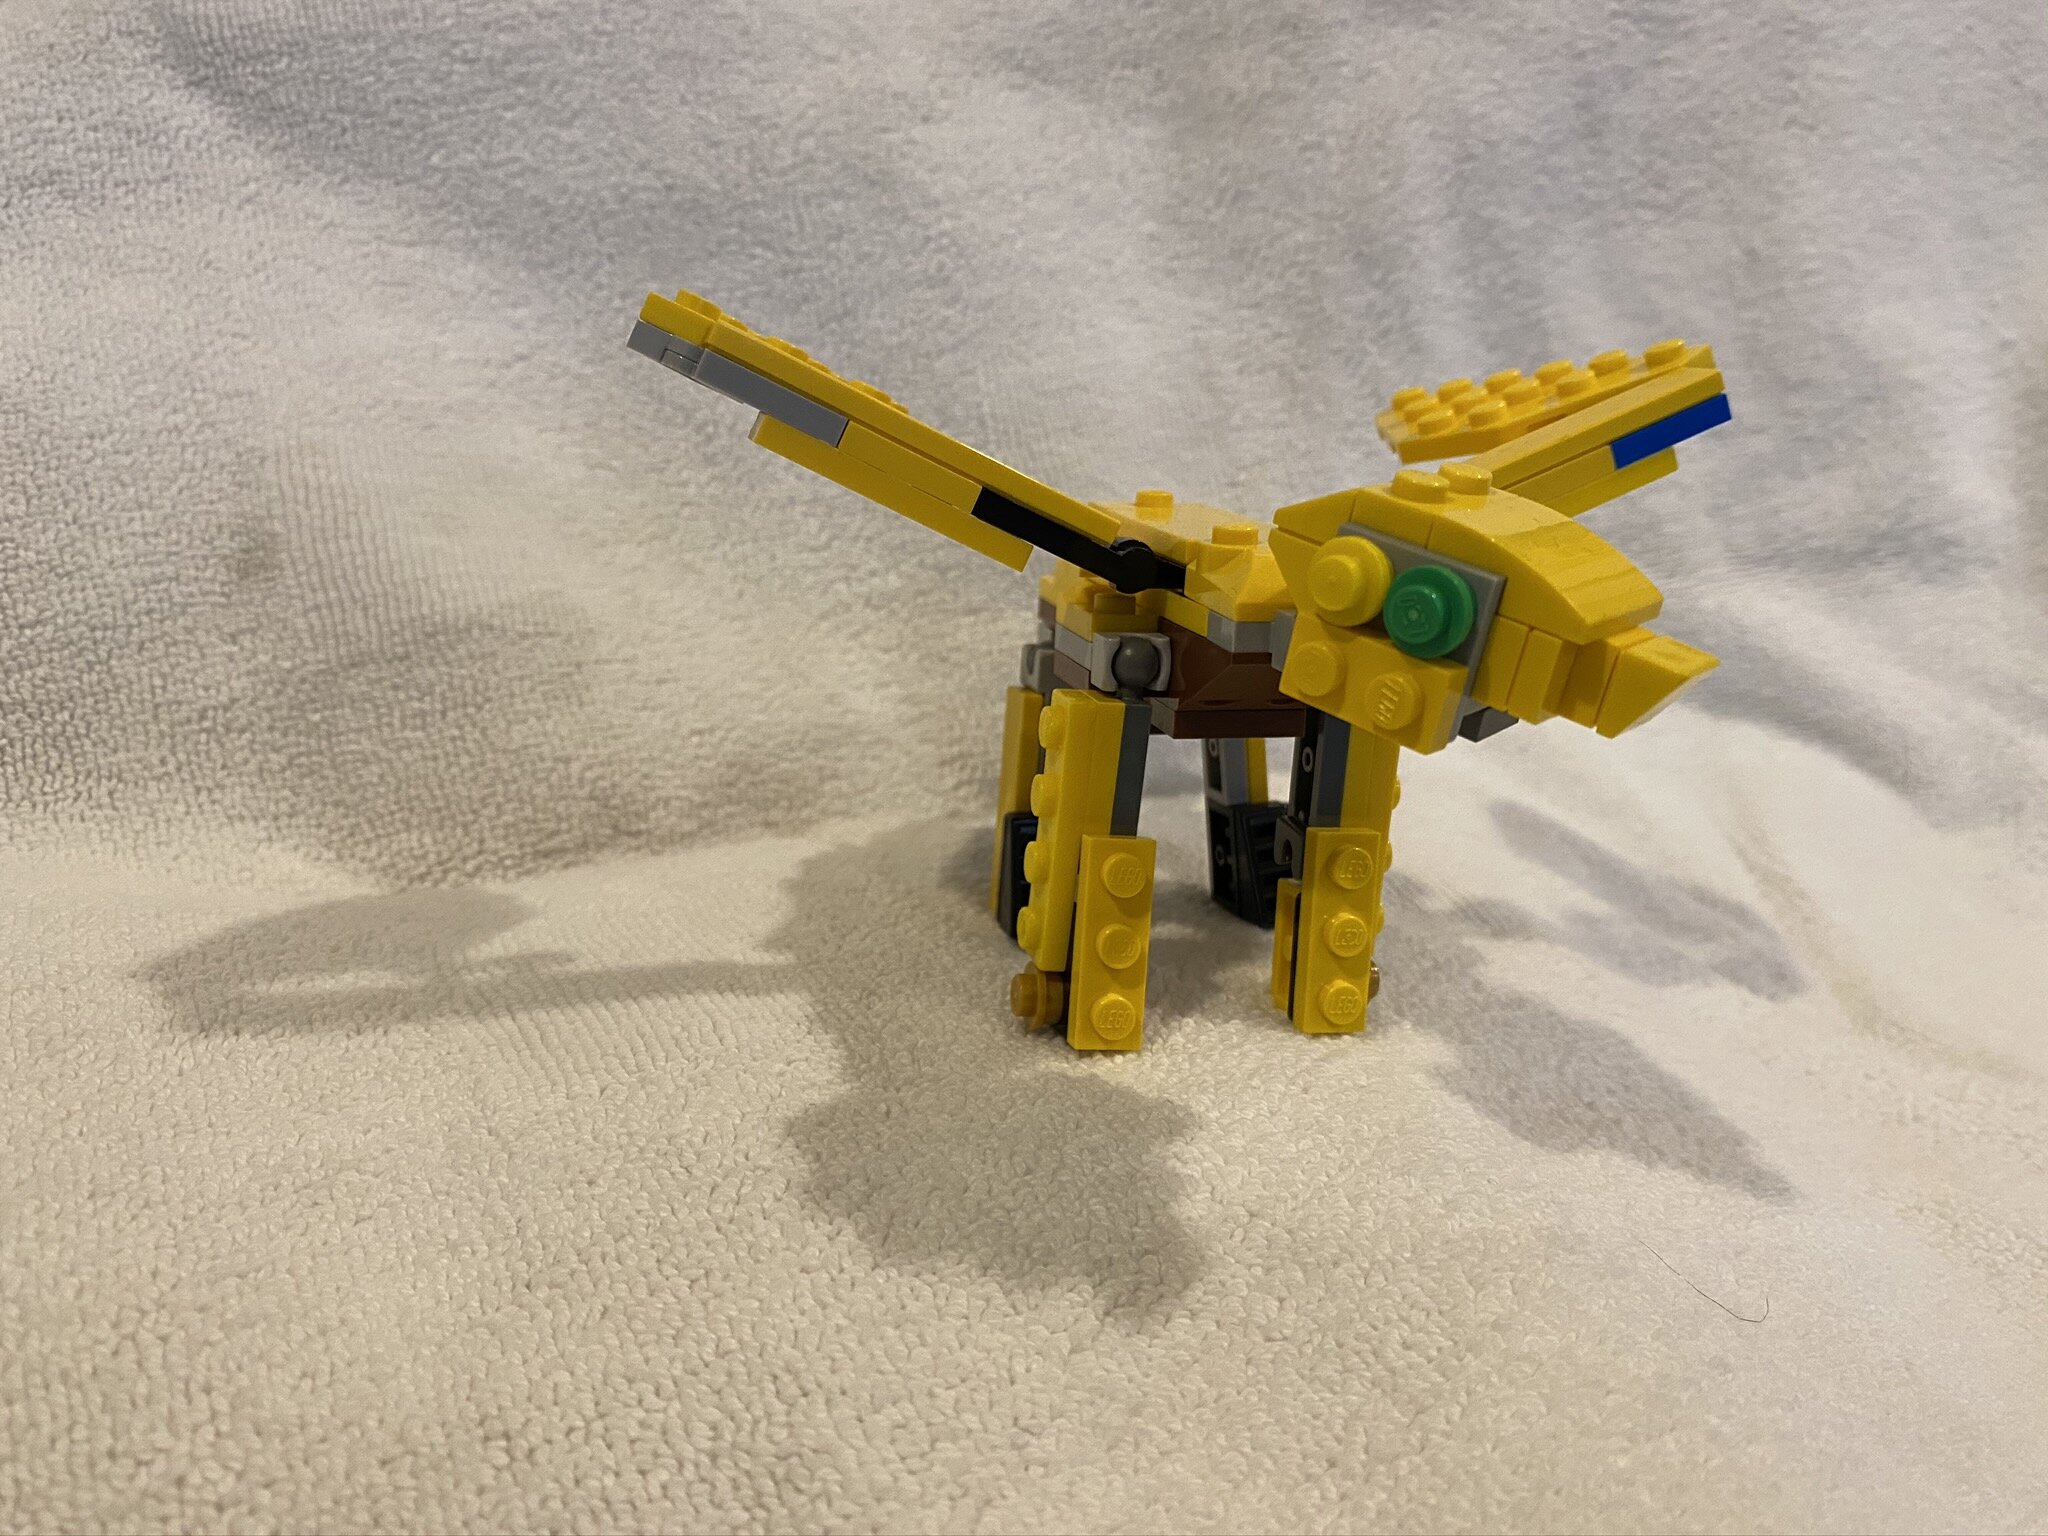
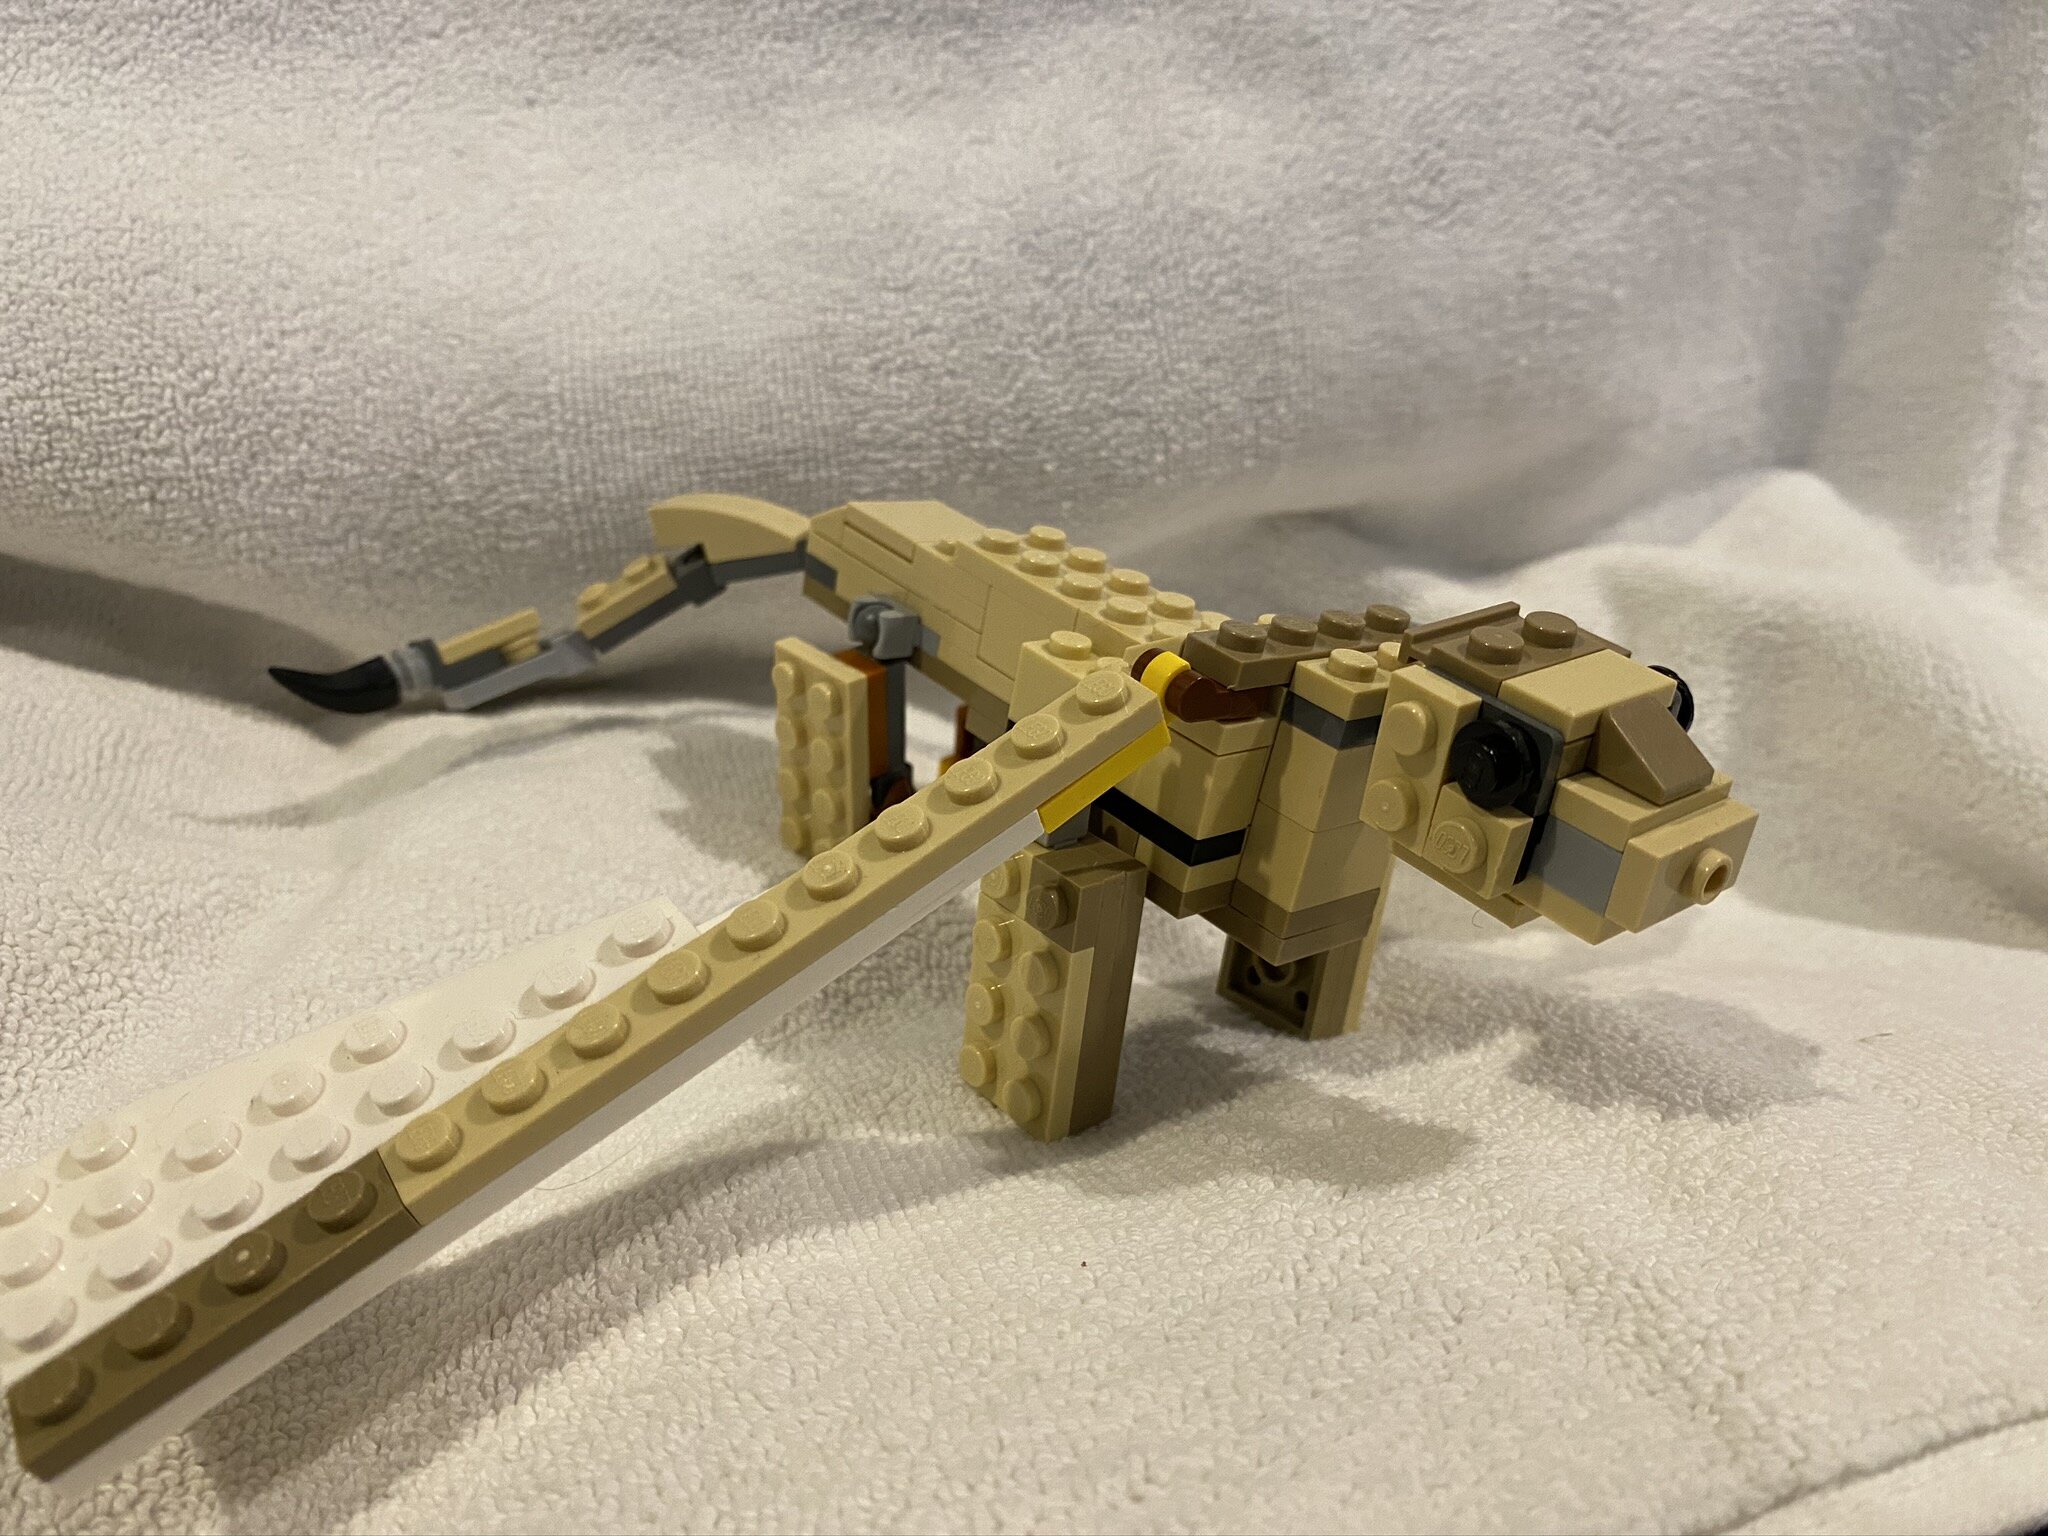
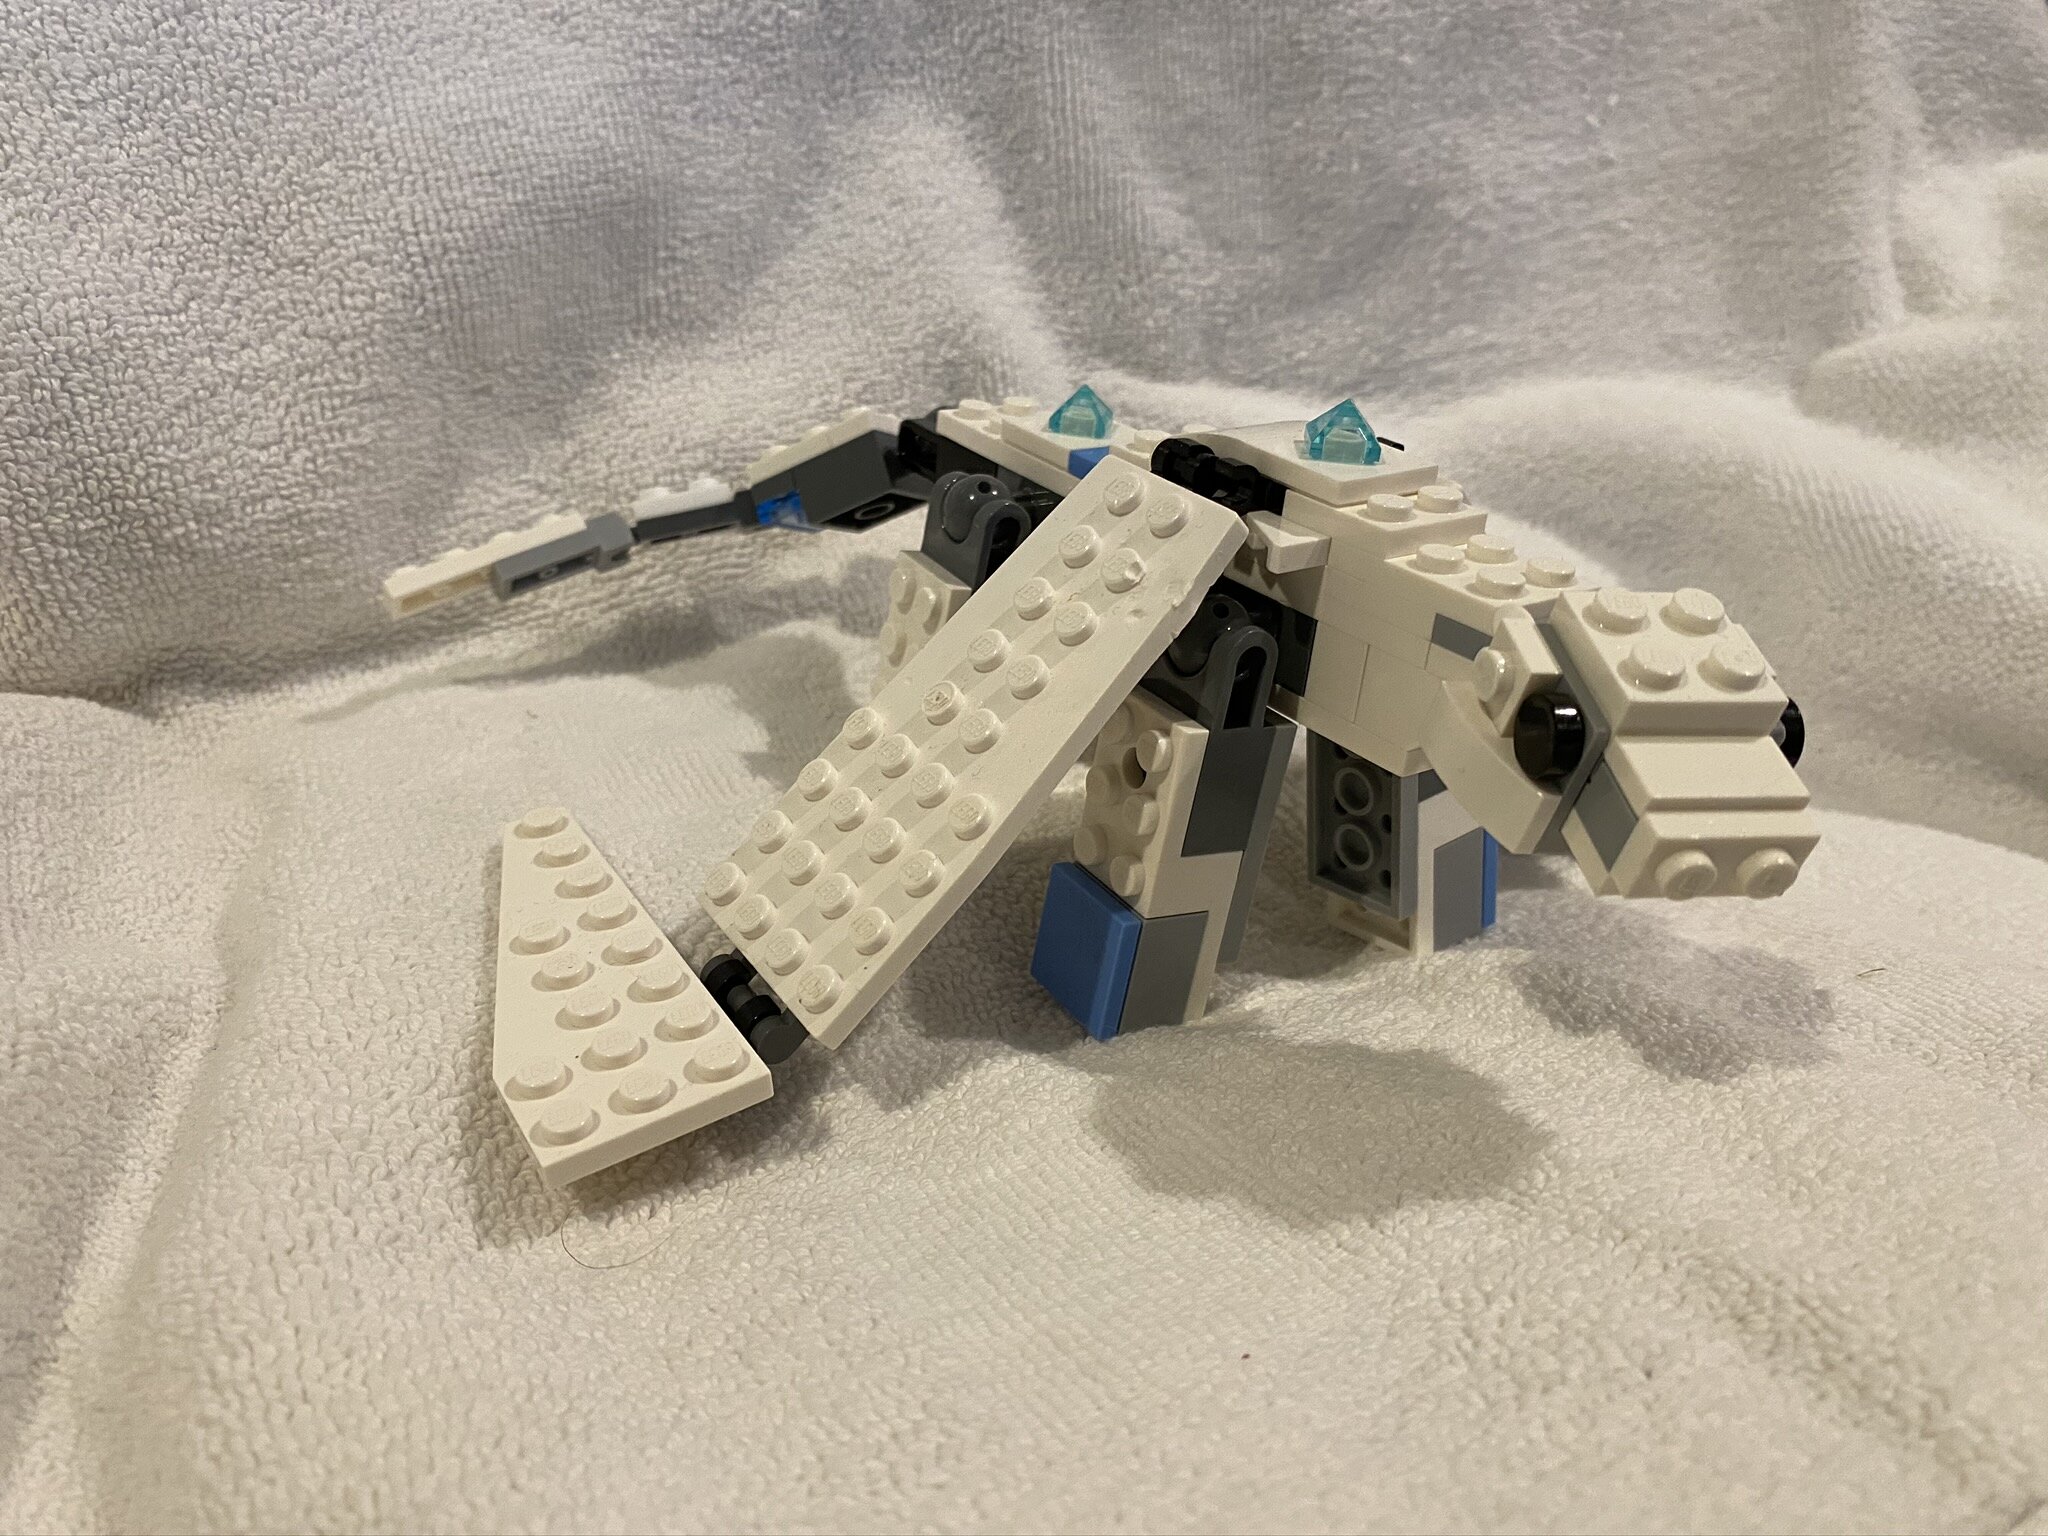
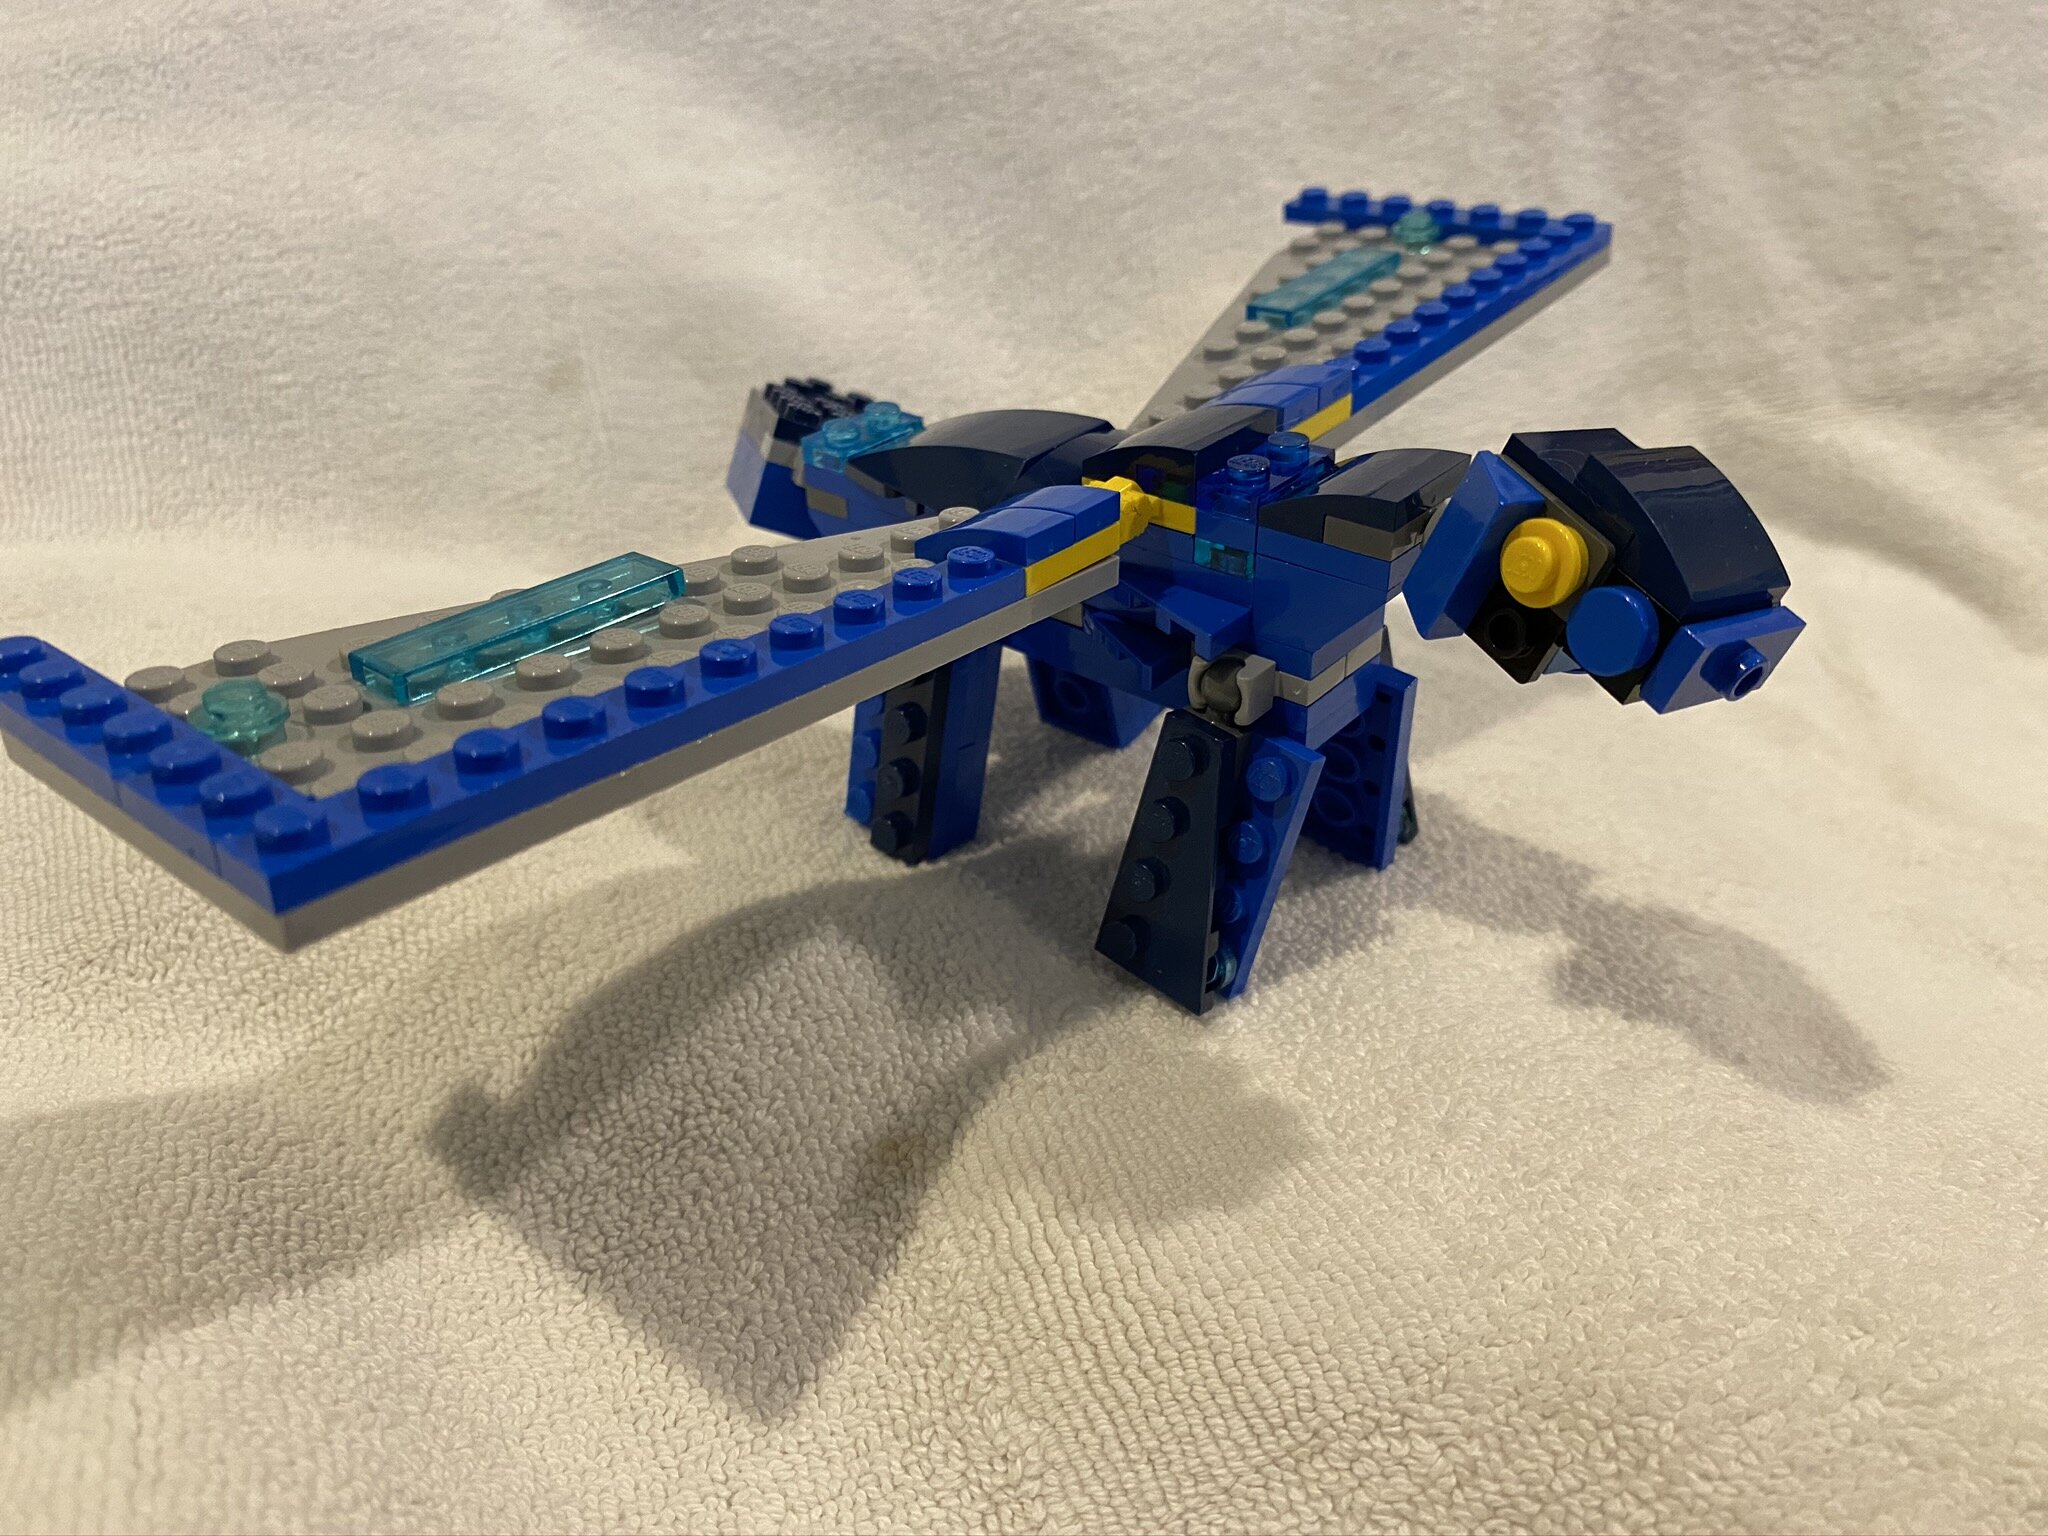
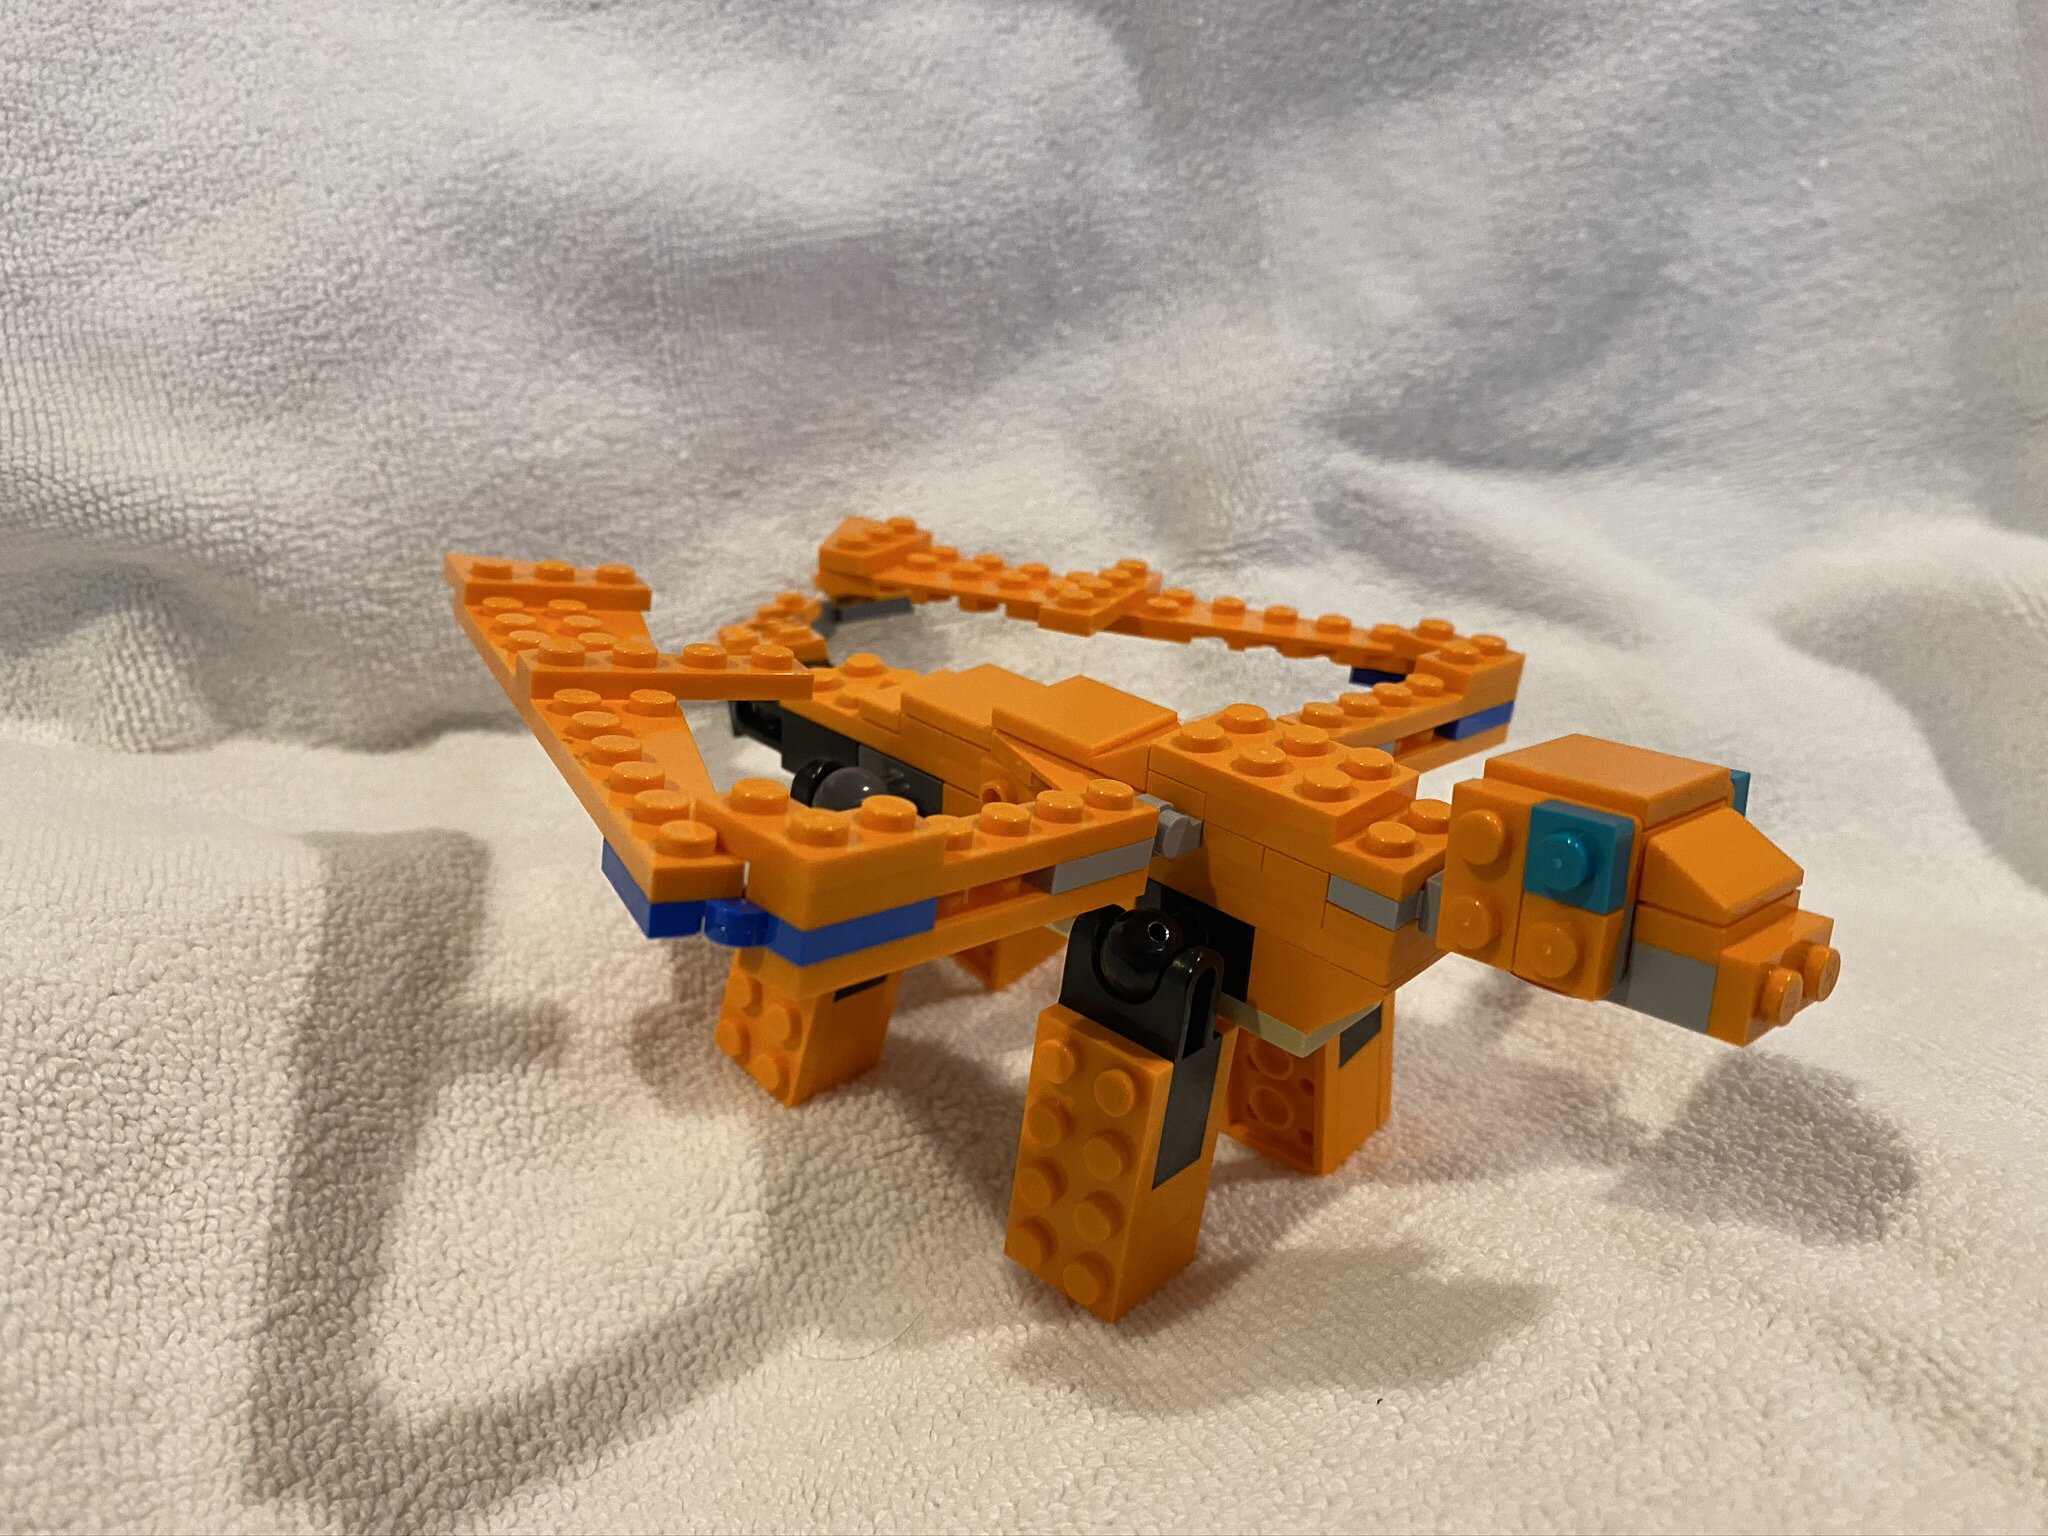
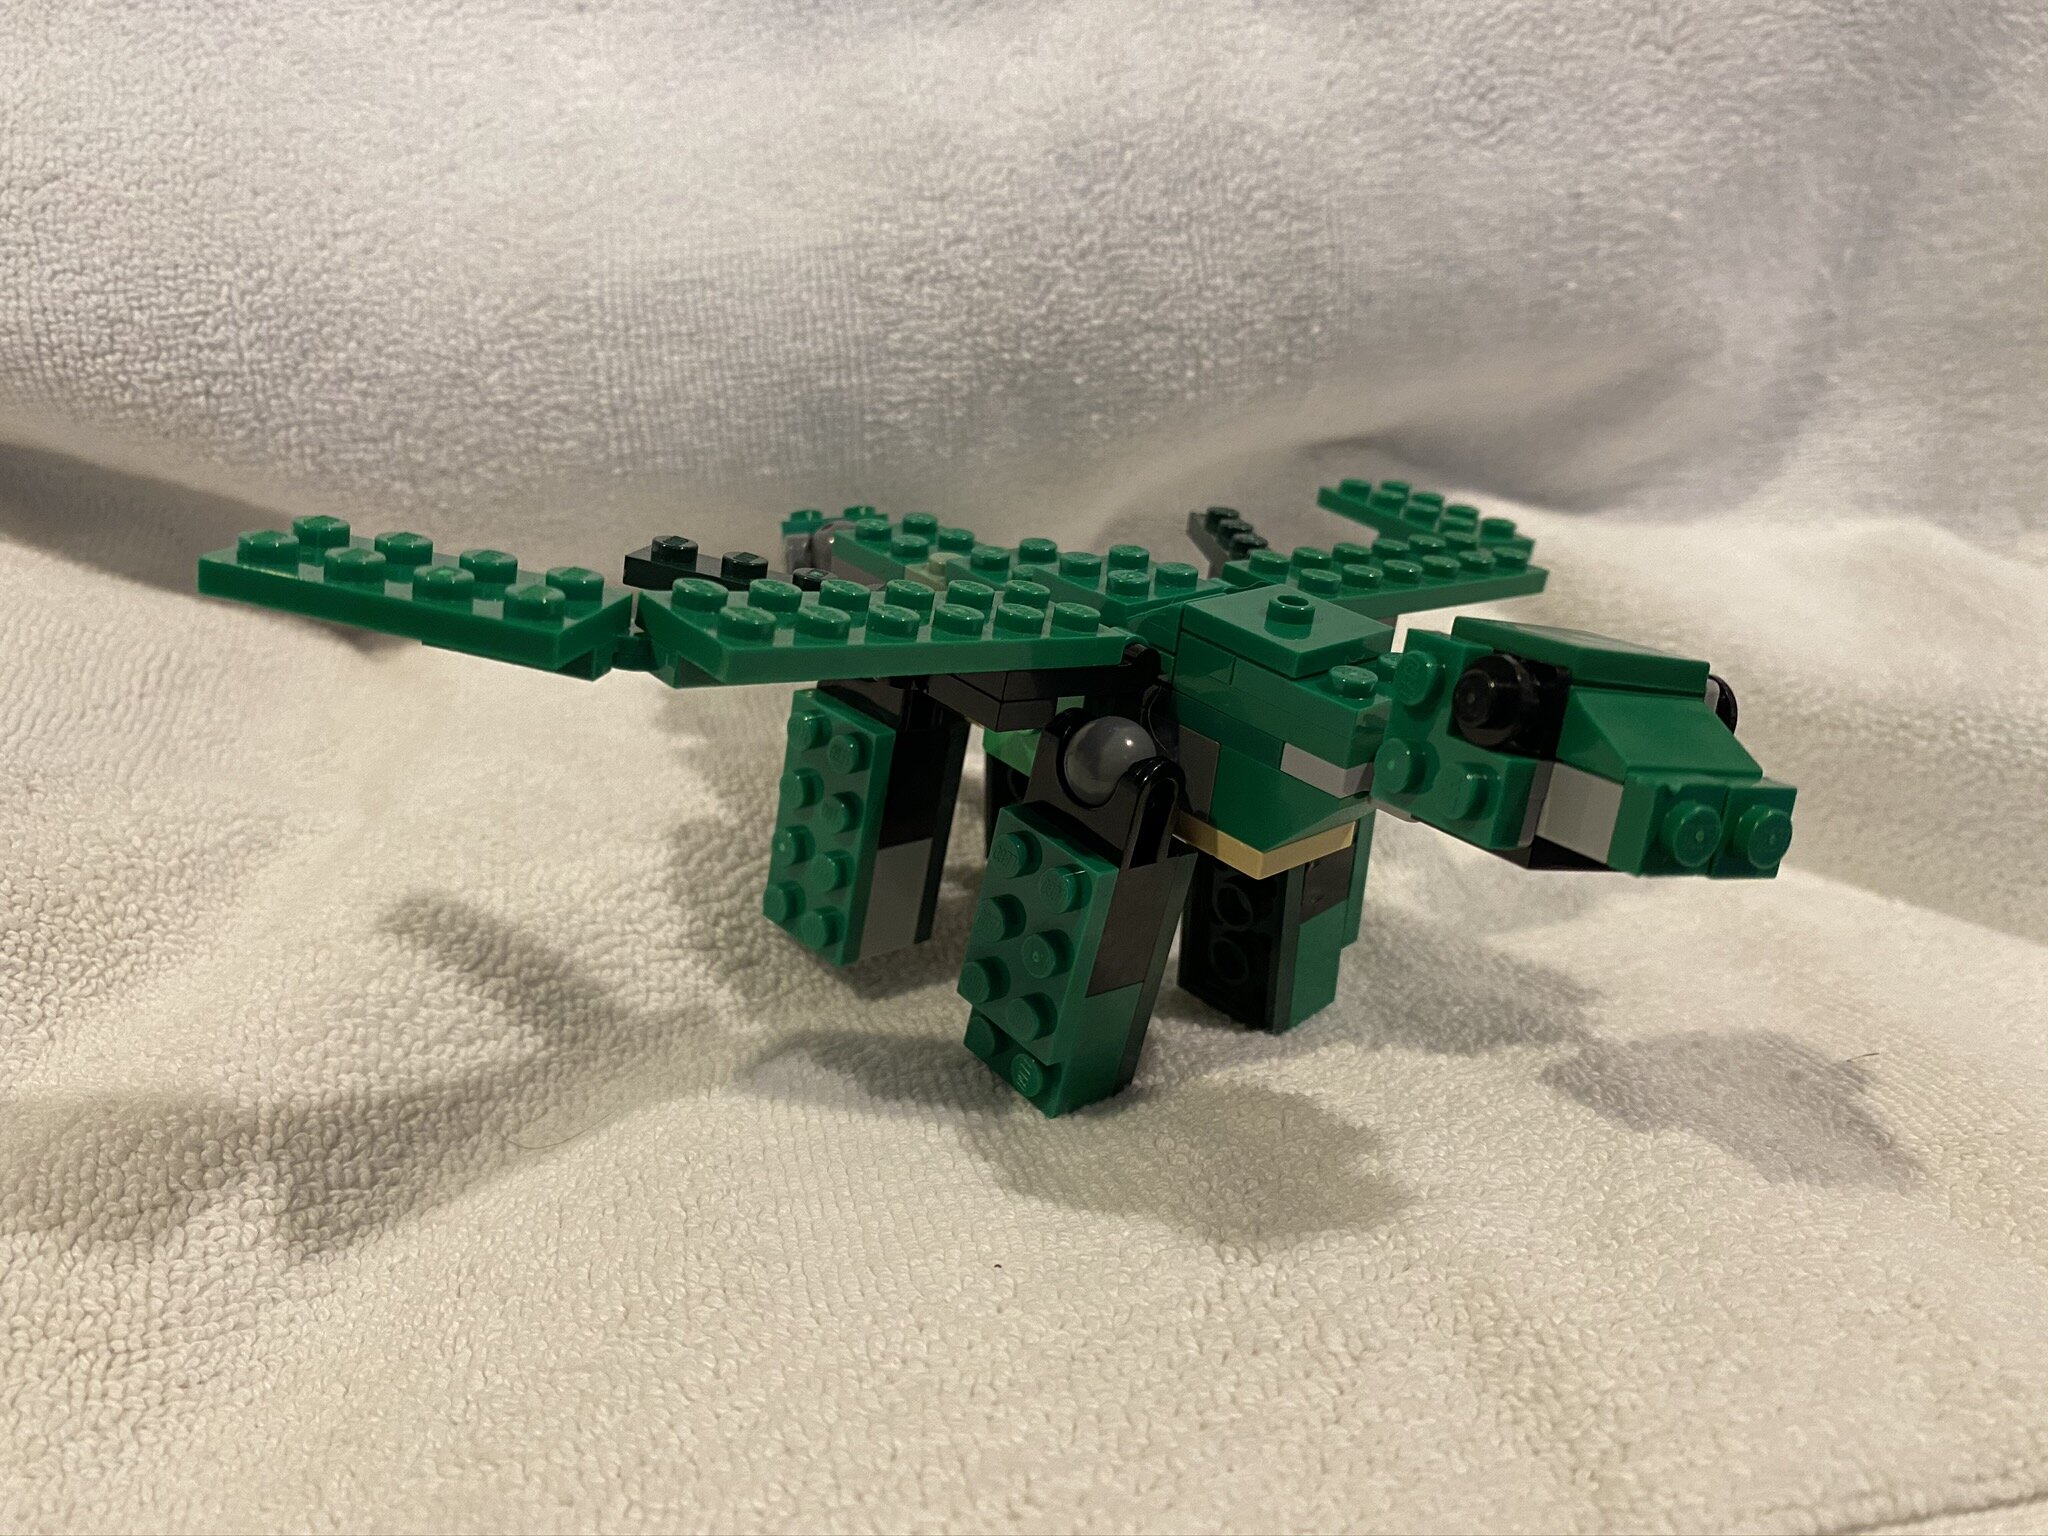
Drew, my 11 year old son, loves playing with Lego, and has become quite the Master Builder. Last week he decided to build a character from his favorite book series, Wings of Fire. He was so happy with the result he decided to make 10 more. I thought they turned out really great so I thought I’d share them here as my blog post for 2020.

Posted
AuthorTodd Zarwell
CategoriesBooks

Welcome to my blog, which digs deep into topics such as ophthalmic pharmaceuticals, my kids, doodles, developing iPhone apps, and, starting today, . . . indoor plumbing!

OK, I don't expect this to become a trend, but I had to replace about five Kohler Devonshire (model K-393-N4-BN) bathroom faucet valves in the last year. There was a little bit of a learning curve for a newbie plumber, and I found that I really had a hard time finding help online. So, I thought I'd write this post in hopes that someone doing a Google search for the right keywords stumbles upon it and, as a result, manages to avoid some of the same mistakes I did.

Step 1

 Step one, of course, is turn off the water to the sink.

IMG_0305.jpg


Step 2

Step two is to get the tops of the handles off. This is where I really struggled. If I felt around the back I could feel a little indentation that I assumed was for accessing a set screw, but none of my allen wrenches seemed to fit in there. Trying to turn a wrench was complicated due to the close proximity of the counter's backsplash.

setscrew


I did some Google searches for multiple variations of "kohler faucet handle remove" in an effort to see if there were any tricks to removing these handles, and most of them implied that they just twisted off (without a screw). So, I wrapped a handle in a cloth and gave it 10-16 foot pounds of torque, but no dice. I only managed to scratch the finish on the faucet. Bummer.

Ultimately, I figured out that the set screw required a star shaped bit. Once I found my little socket wrench I was able to access the screw and work around the close backsplash.


torx bit.png


Step 3

Once the tops of the handles are off, simply remove the screw to remove the base of the handles. But, before you do, take note of the position of the handles, and remember if the faucet was in the on or off (probably off) position when you removed the handles - this will save you some time later!


handle base.png


Step 4

Remove the valves with a socket wrench. These aren't supposed to be super tight but they were for me, which was complicated by my not knowing which direction I was supposed to be twisting them. It turns out they both needed to be turned counterclockwise.


Step 5

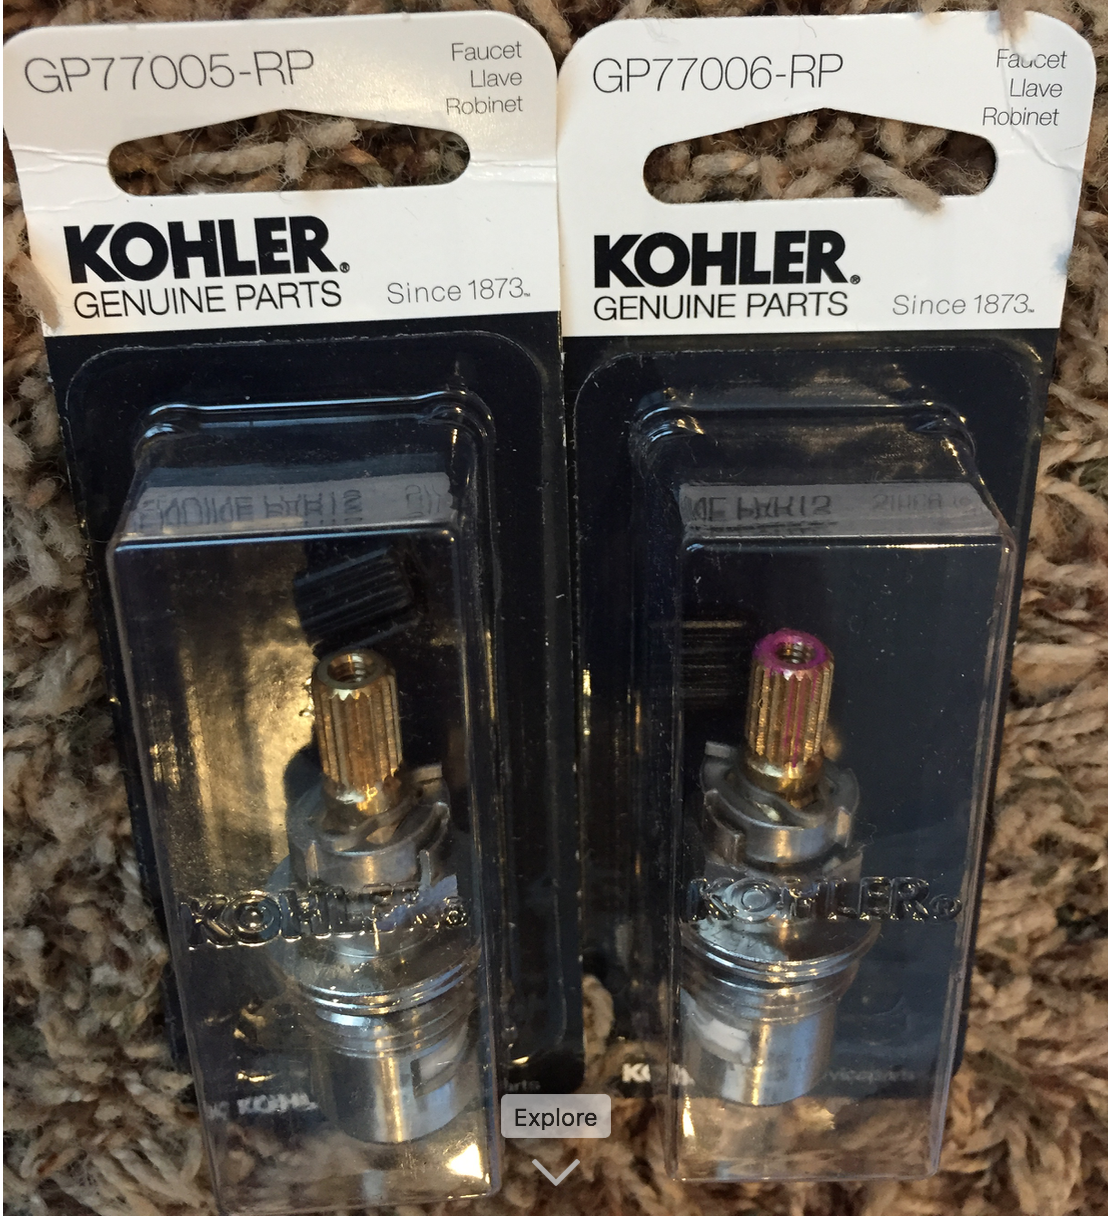
Replace the valves. There are two slightly different valves, and they're not interchangeable. One open by turning it clockwise, the other will open when turning it counterclockwise. One of my valves had red on the tip, which I assumed would be for the hot water. Makes sense, right? Well, it turns out I was wrong.


valves in package
red valve

Step 6

Replace the handles. You might find you need to experiment with the handles positions a bit. I believe the valves are shipped in the "on" position, which confused me because I'd taken the sink apart in the "off" position. This, compounded with having switched the hot and cold valves caused me a lot of confusion. The handles were only turning away from (towards the wall) or the water would turn on in the "off" position and "off" in the on position.

The bottom line is, I'd recommend placing everything into position without screwing anything, then turn the handles. Do the handles turn away from the wall? Next, turn on the water. Does the water flow when you pull the handles forward? Or does do the opposite? Once everything makes sense, screw the screws.


Step 5

Enjoy your new drip-free sink!


kid plumber
Posted
AuthorTodd Zarwell
6 CommentsPost a comment

This Mother's Day, while my wife straightened up and I reclined on the couch browsing Twitter, I happened to see an article ranking the top 10 science fiction mothers. On the front there was a picture of Linda Hamilton from Terminator 2, brandishing an automatic rifle and lookin' buff. At that very moment, my wife walked by carrying an armful of Nerf guns back to the kid's arsenal. 

Of course, Linda Hamilton in T2 is and my wife are different.  Sara Connor prevents Armageddon by fighting a robot from the future, after all. However, my wife does battle midget terrorists on a daily basis. Terrorists that can operate an iPad but, paradoxically, can't figure out how to put a plate in a dishwasher. So, there a lot of similarities there too.

In the end, I came to this conclusion:

And, I was just kidding about loafing on the couch while my wife was doing housework. I was actually on a chair.

Posted
AuthorTodd Zarwell

I take a lot of screenshots. Taking them is an easy thing to do but, if you do a lot of them, processing screenshots can become a time consuming process. For me it usually involves at least this many steps:

  1. Take the screenshot (on a Mac pressing ⌘-shift-4 and dragging the crosshairs over your target will do the trick).
  2. Rename the file to something that makes sense (otherwise it'll be named something like Screen Shot 2016-10-29 at 8.11.27 AM.png
  3. Find the new image file on the desktop and double click it to open in the Preview app.
  4. Use Preview to resize the picture then save the file. On my website I display product images in a way that requires them to be no larger than 150px wide. However, I've been thinking a lot about retina screens lately and I've been starting to collect versions of my images that are twice as large too.
  5. Upload to my server using my FTP client (I use Transmit). This involves navigating about 6 layers deep into my file system.
  6. The point of these screenshots is to display them on my Web site, so the last step is to enter the image name into my database. So, I either have to retype the name I chose for this image or copy and paste it.

Every step is simple. However, when you find yourself repeating a multistep task like this it's time to consider some sort of automation.

The Mac has some great tools for automation. For the super nerdy, bash scripts on the command line, python or ruby scripts (or even php or javascript for that matter) can work wonders. There's also AppleScript, which is supposed to be a layperson's scripting language but, despite all my programming experience, I have a hard time wrapping my head around it.

There's even some absolutely fantastic third party apps like Hazel and Keyboard Maestro. However, a lot of workflow problems like this one can be solved by the simplest automation solution, Automator.

Automator makes automation easy by letting you drag steps into your workflow. These steps are chained together, so each one takes an input (which can be a file, text, or something else) and outputs an, er, an output. Oftentimes this output is the same thing that was input, sometimes it's something different that was created by the step.

Note: To quickly find these actions start typing their names into the search box at the top of the screen. Make sure Library is highlighted in the left column, otherwise you will only be searching a smaller subcategory and you might not find what you're looking for.


So, this is the workflow that I ended up with. 

The first step is to take the screenshot. I want this to be interactive so that I'll be able to select the exact part of the screen that I want for my screenshot. The other option is to save it to the clipboard or to a location. I first made a folder on my desktop called eyedock lens image and put an image inside of it named new screenshot.png, then I chose the Other option in the Save To: dropdown and navigated to this image.

One thing that I wanted to point out on here is that the steps you drag into automator are usually chained together, meaning that the output of one step is, by default, the input for the next step. This is indicated be the circle in the image above.

However, sometimes we want to break this chain. This is true here. My second step is to ask for some text that will be a name for this picture, which is a step that does not need an image to be passed into it. So, when I added this step I right-clicked on it and chose the Ignore Input option. As you can see (where I put the red 'X' above) there is no visible connection between the steps.

Asking for text will pot up a little dialog box that will ask for some text. I want this to be mandatory so I checked the Require an answer checkbox.

The output of this step is going to be the text that the user types in, and this will become the input for the next step, which is Set value of Variable. I named my variable Name, so now this variable it will equal whatever text the user entered in the above step.

After setting my variable, I chose the Copy to Clipboard  step. This will put the name of my image file on the clipboard so I can just paste it where I want it. This may not be an important step for everyone but it's a helpful one for me.

The next step is Get the specified finder items. This is going to retrieve the screenshot image file that we took in step one. Because this does not require the text from the above steps I once again chose the "Ignore Input" option - we are starting a new chain here. On the Get the specified finder items step I simply clicked the "add" button and navigated to the location of my image file. The output of this step will be the image file, which we're going to pass on to the next step,

Rename Findere Items: Name Single Item. I'm going to rename the full name of the file, so I selected this option and then I used the variable NameI from our second step and appended the text "_original.png". So, if the user enters the text "myPicture" in step 2 then the file will now be named "myPicture_original.png".

After renaming the file I'm going to set another variable that refers to this file. It's always best to make variable names that make sense, so I called this variable Original Image. 

Then, I duplicate the file. The output from this step will be the duplicated file (not the original), so my next step, Rename Finder Items, will rename this file (otherwise it well be called myPicture_original copy.png). I'm ultimately going to make two copies of this image and this one is going to be twice as big, so I will rename this one with the variable name + "@2x.png". In our example it will be myPicture@2x.png. Lastly, I set this to another variable and, trying to keep things organized, I call it 2xImage.

I'm thinking, at this point, that these steps aren't requiring as much explanation. The "2x" file is duplicated, renamed (this time it will simply be myPicture.png), and stored to another variable (1xImage). In the next step we finally scale the image. For my Web site I place images in a position where I want them to be no larger than 150px, so I select the appropriate options to give that result. This scaling will be done in a way that respects the proportions of the image - it won't turn your image into a 150px x 150px square, it'll just make sure it's not larger than 150px in either dimension.

We created a 2x image, but we haven't scaled it to our desired size yet. So, we're going to get that image and do that now. This is why we assigned a variable to that image earlier - it makes it really easy to retrieve and perform more actions on it. So, our next step is to Get the value of variable "2xImage". Note that I once again selected the "ignore input" option so this step wasn't chained to the ones above it.

Then, we scale the image - I wanted this to be twice as big so I selected 300px this time.

Now, all the images I wanted have been created - the original, the 1x, and the 2x. The last step is to upload them. Unfortunately Automator doesn't have any built in steps to upload files, but any good third party app should provide Automator actions. As I mentioned above I use Transmit and it provides exactly what I need for this step.

So, the next step is to drag in the Upload step and configure it with your server credentials.

After I've uploaded the 2x image, I get the 1x image (via the 1xImage variable) and upload that one too.


And that's it!

Now save the app and name it whatever you want - choose something that make sense, like screenshot uploader. You can activate it like you would any other app (by double clicking it). However, if our goal is to increase efficiency, I'd use an app launcher like Spotlight (hit ⌘-space and start typing screenshot uploader, or whatever you named it). I'd also recommend giving your app a custom icon to make it more recognizable (otherwise all your Automator apps will look the same!).

Here it is in action:

Wrap-up

There's about a 97.6% chance that you don't need the exact same thing that I need here. Hopefully you'll find this helpful, though, and take this and customize it for your own needs. Automator is obviously highly customizable, and there's no right or wrong way to solve a problem. In fact, as I typed this up I thought of a couple ways this workflow could be changed to work more efficiently. This is one more way that Automator is like "real" programming: Job one is making something that works, jobs 2 through 99 are refining what you've done - if you're so inclined! Just don't go overboard - it's easy to do, as this xkcd comic sums this up perfectly!

There is one issue I don't like about this workflow. It isn't very smart. If an image is smaller than 300px, or 150px,  it will still try to create images in those sizes. As a consequence a 100px image will be blown up to 150px and 300px and, when you're blowing up images like this, they'll be blurry. This is an issue that could be addressed by writing a script (Applescript or otherwise), but this is beyond the scope of this today's blog post.

One other thing to consider - this script keeps three images on your hard drive (the original, the 1x and the 2x). You may or may not want this. If not, consider customizing it yourself by adding some actions to delete the files after the upload.

Posted
AuthorTodd Zarwell
Tagstech
3 CommentsPost a comment